Microclimate measurement system with the esp32 microcontroller usage and graphical data visualisation.
These instructions will get you a copy of the project, it will make it up and running on your local machine for development or usage.
The device contains of:
- ESP-WROOM-32 DevKit
- DHT11 Temperature-Humidity Sensor
- Ssd1306 oled
Wiring diagram:

- Install Docker on your system.
- Install sketch for device.
- Open sketch in Arduino IDE.
- Set up your wifi SSID and password.
#define WIFI_SSID "<your wifi name>"
#define WIFI_PASSWORD "<your wifi password>"- Set up your influxdb url, token, organization and bucket.
#define INFLUXDB_URL "http://<your influx server ip>:8086"
#define INFLUXDB_TOKEN "<your influx token>"
#define INFLUXDB_ORG "<your org name>"
#define INFLUXDB_BUCKET "<your bucket name>"- Upload a sketch to an Esp32.
To download a copy of the project click here.
- Optionally, change default credentials or Grafana provisioning.
- Run the following command from the root of the installed project:
docker-compose up -d
- Open InfluxDB via http://localhost:8086 or from docker and create API tokens for esp32 and Grafana.
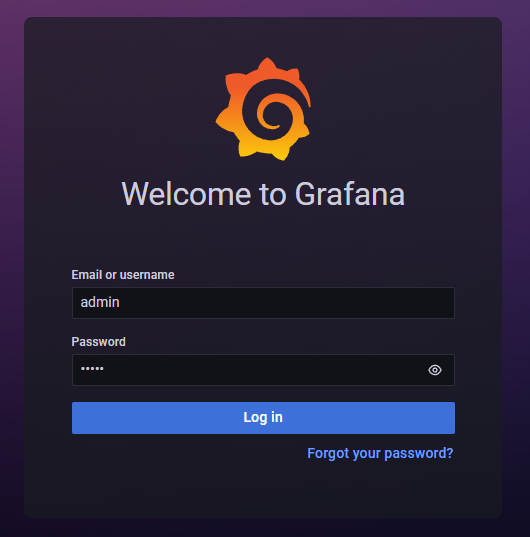
If you don't know how - read the documentation. - Open Grafana via http://localhost:3000 and enter login and password:
Login: admin
Password: admin
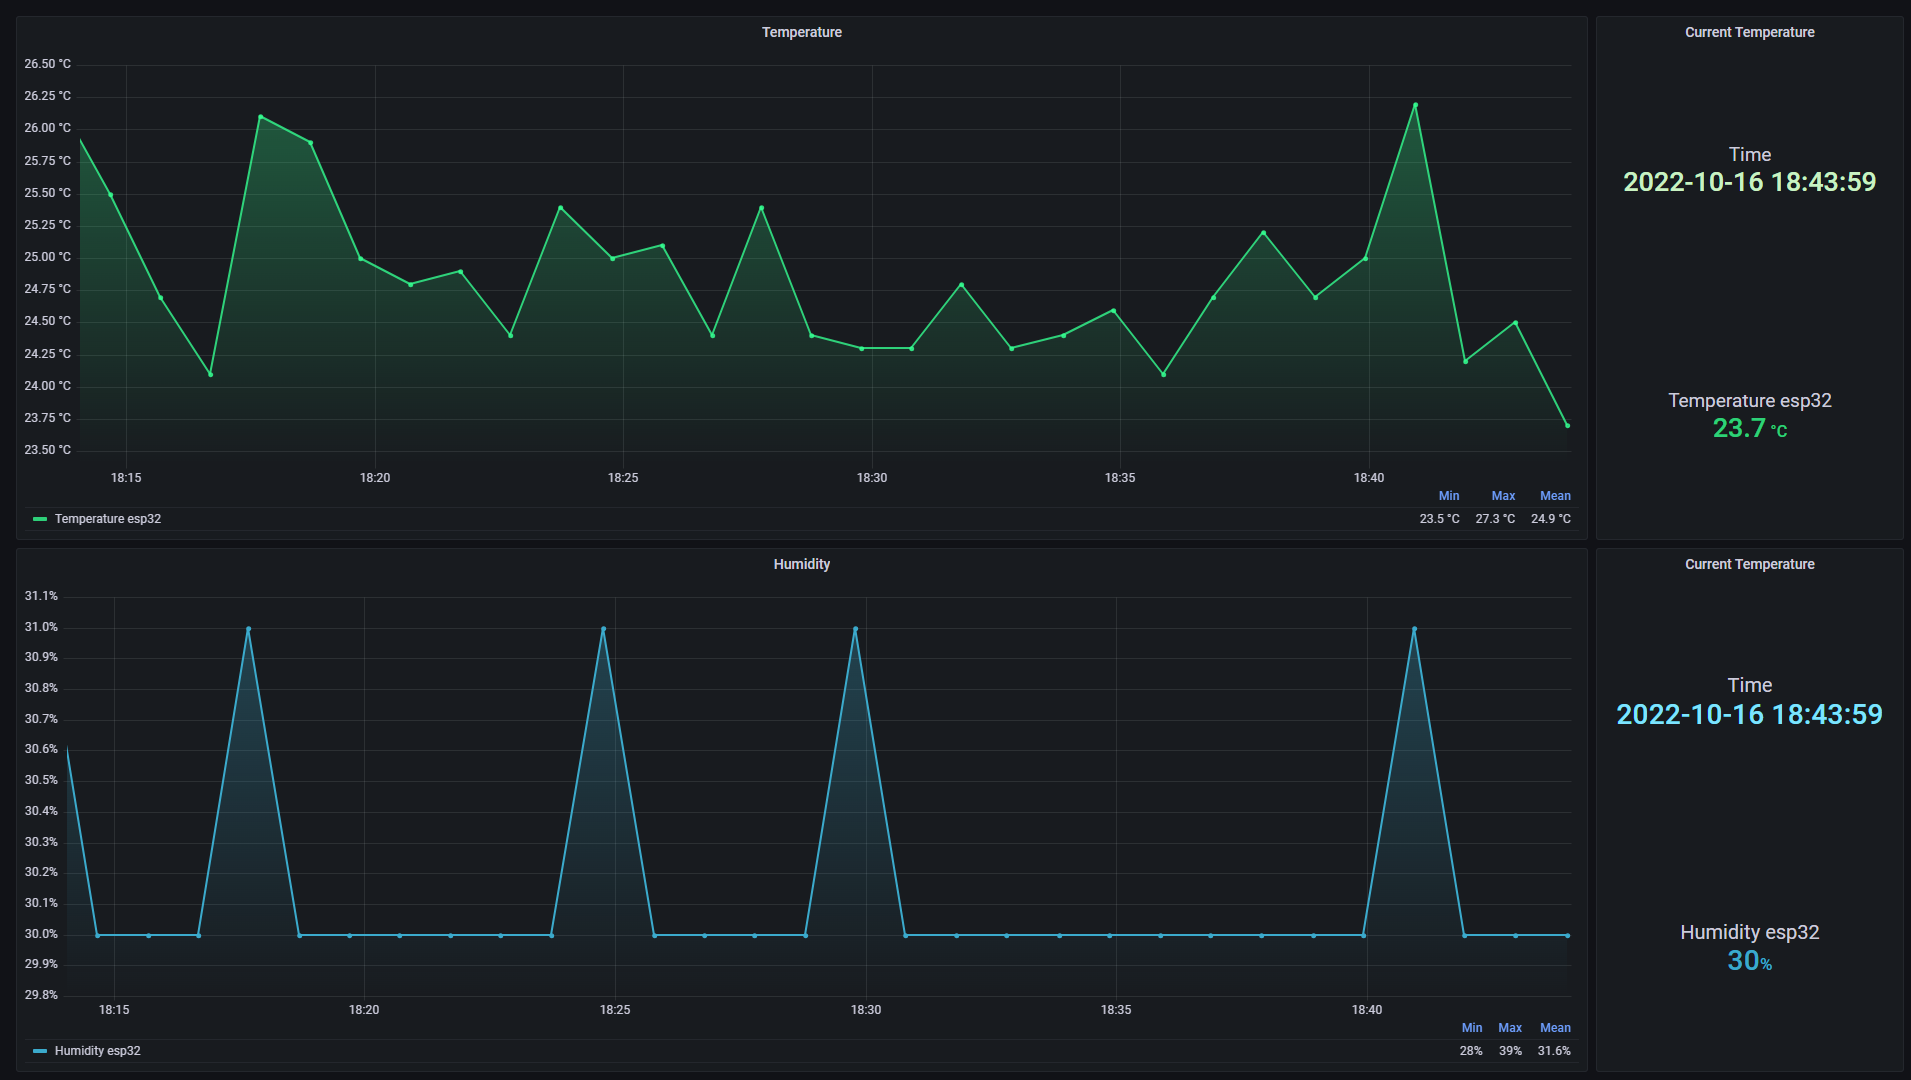
- Open dashboard in dashboards menu
- Docker - An application containerizer for automating the deployment and management of applications in containerized environments
- InfluxDB - Time-series database
- Grafana - Data visualisation system
- Rodion Kushnarenko - Neutro
This project is licensed under the MIT License - see the LICENSE file for details.