- similar to AWS EC2 Instance
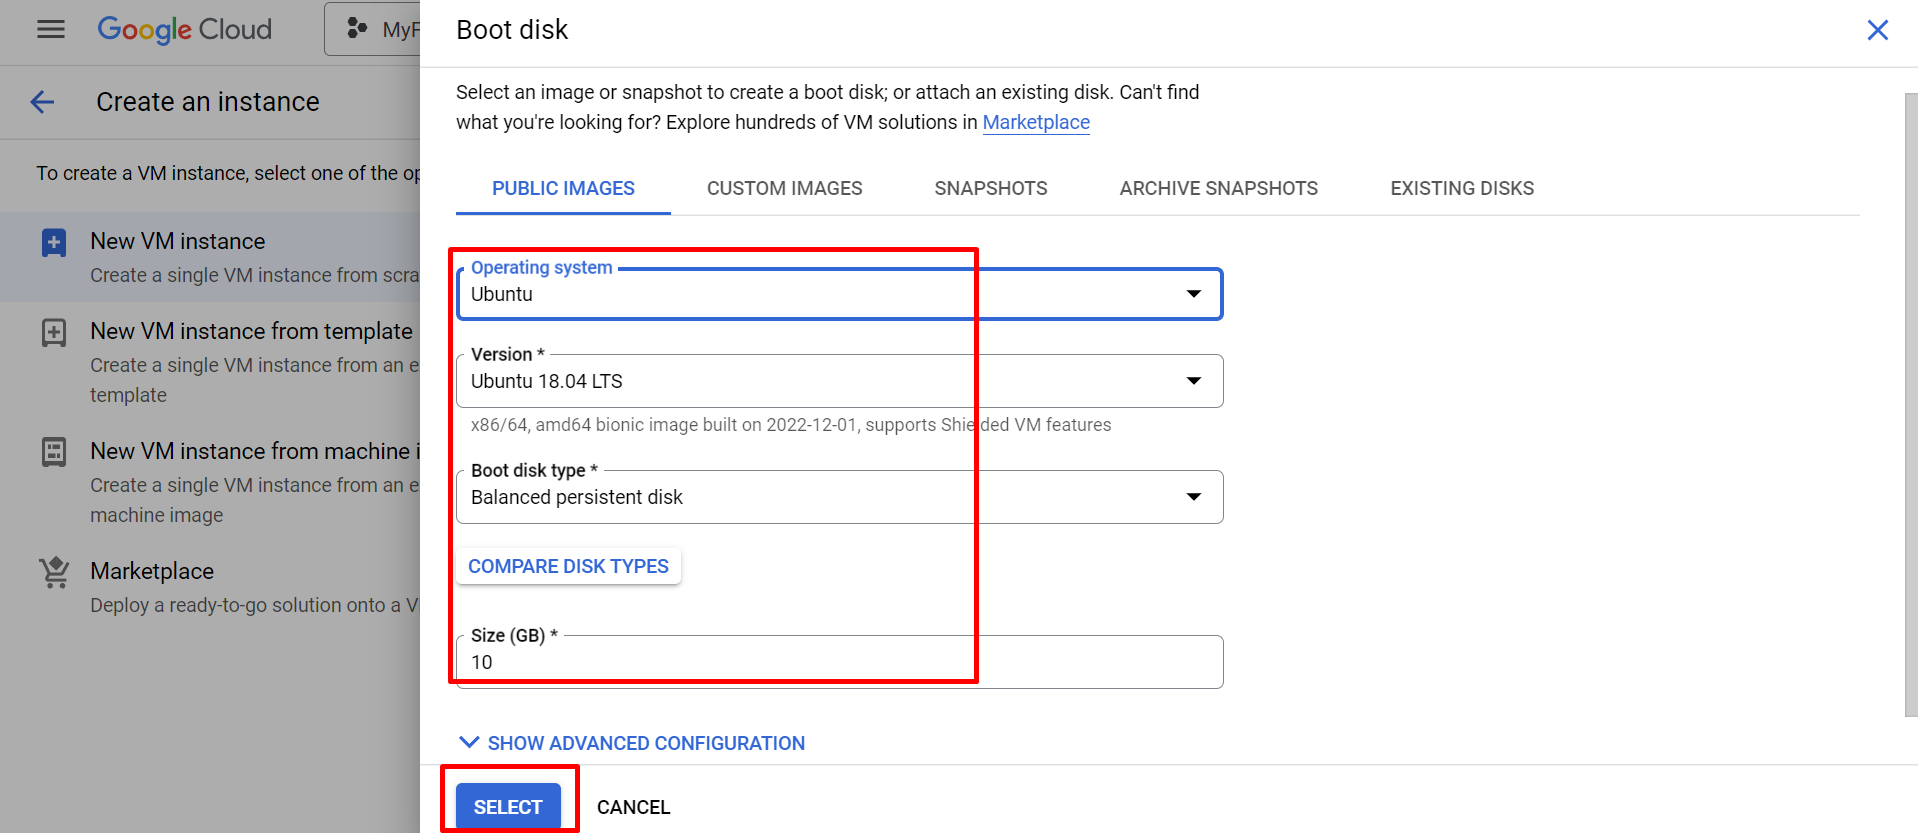
- Creating a GCP Ubuntu/Linux VM
- Will Connect to WinSCP (upload files from Local machine to VM) and then Connect To Putty
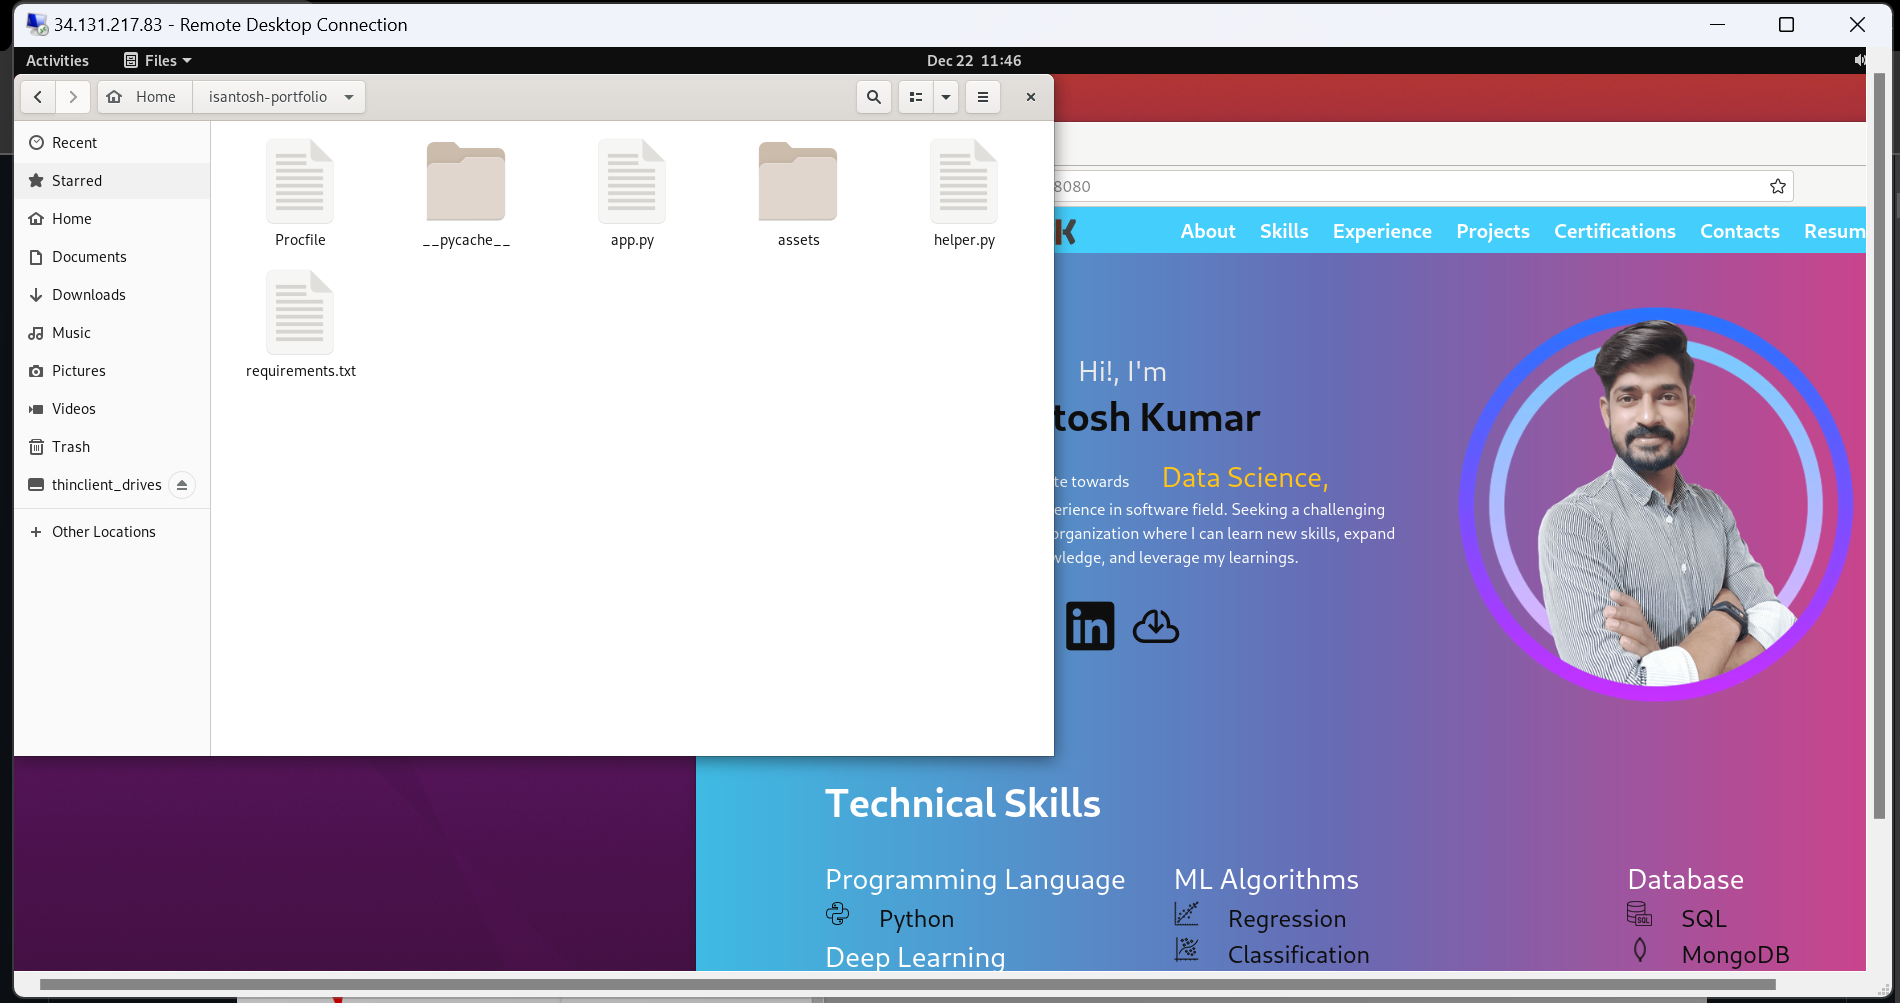
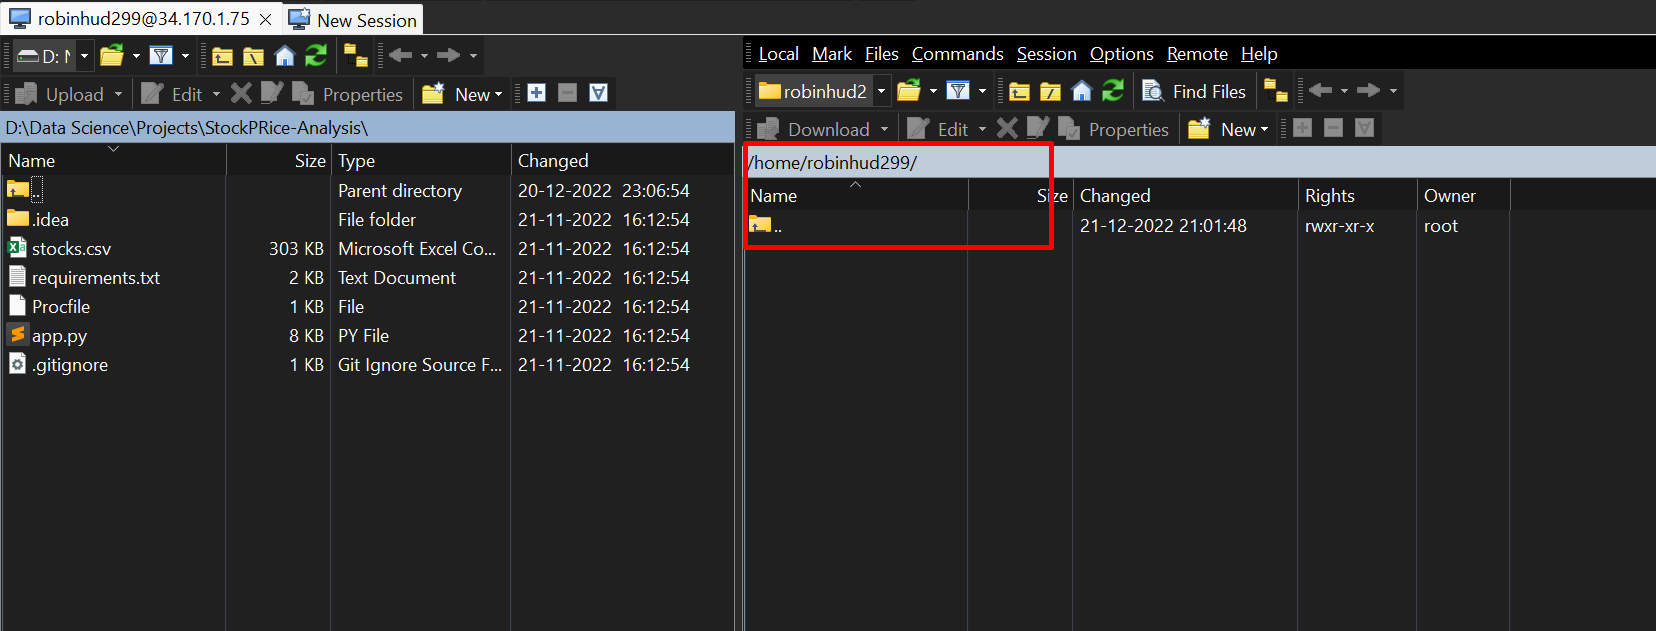
- Upload Portfolio program files to VM directory using WinSCP
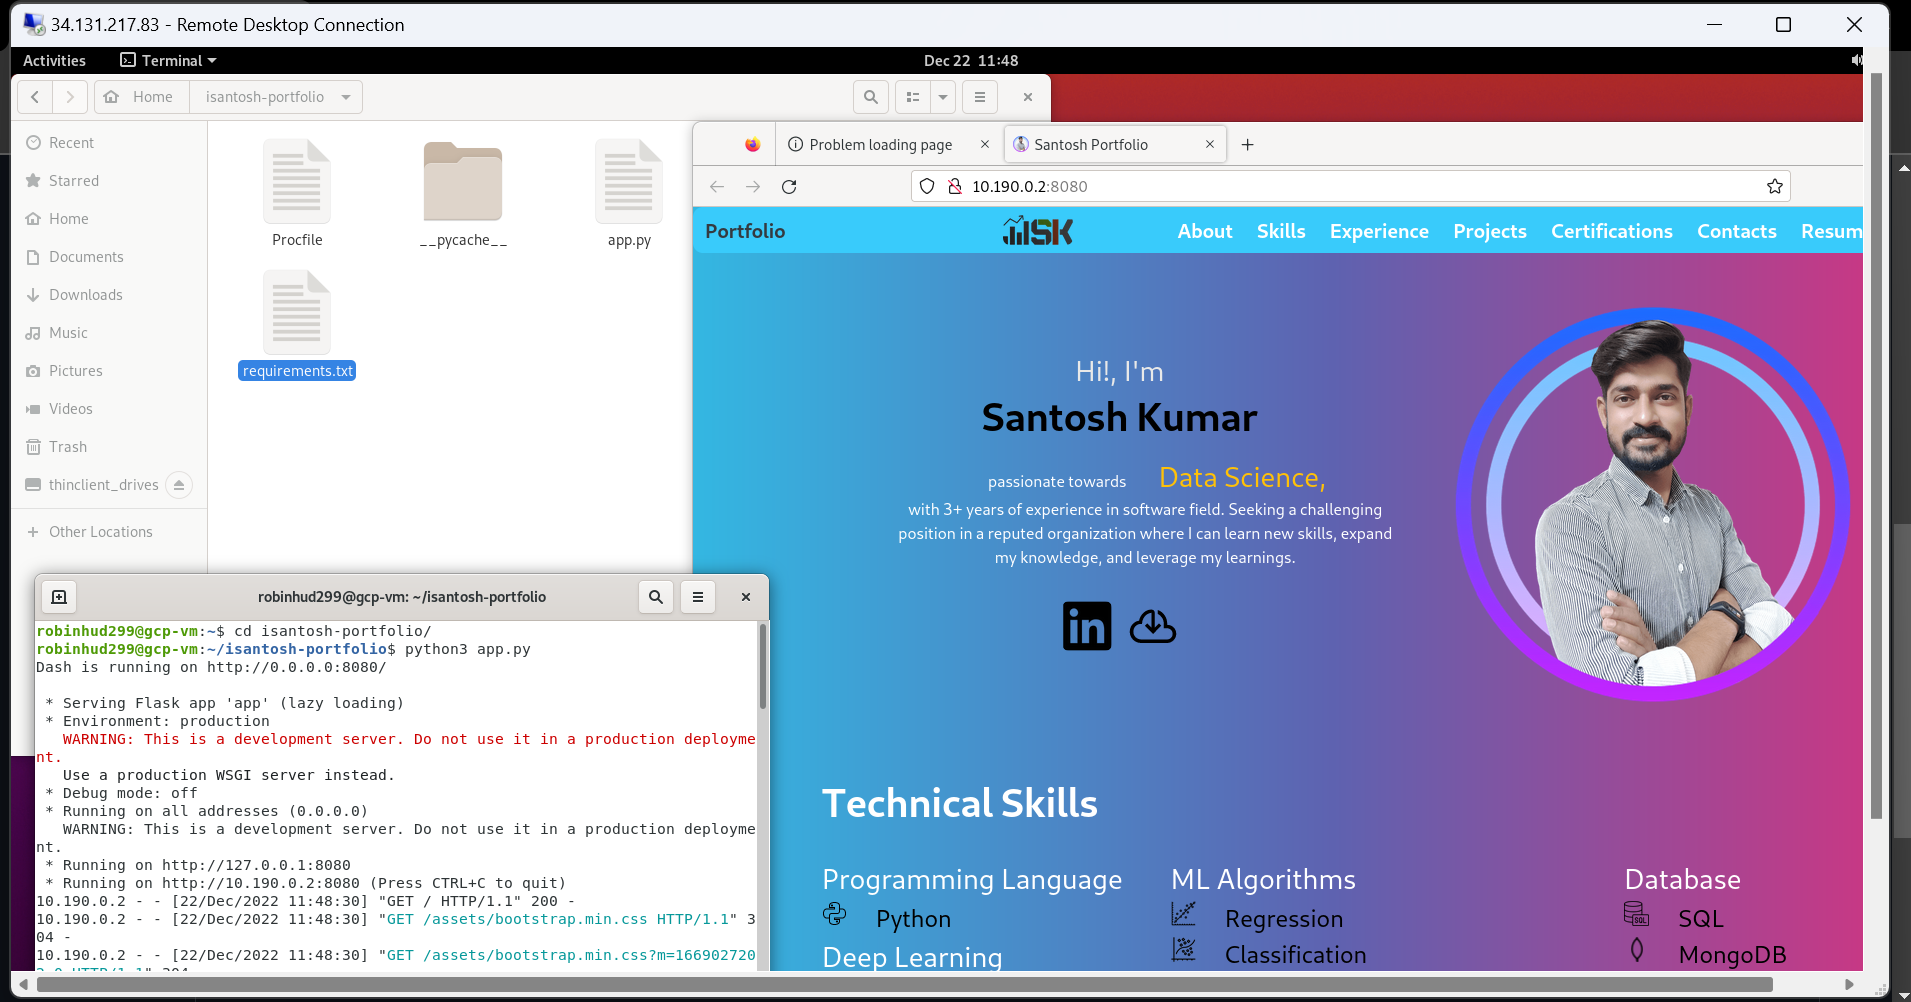
- Will Connect to VM using Remote Desktop and will run portfolio app using Remote Desktop
- To create Project go to
Menu > IAM & Admin > Manage Resources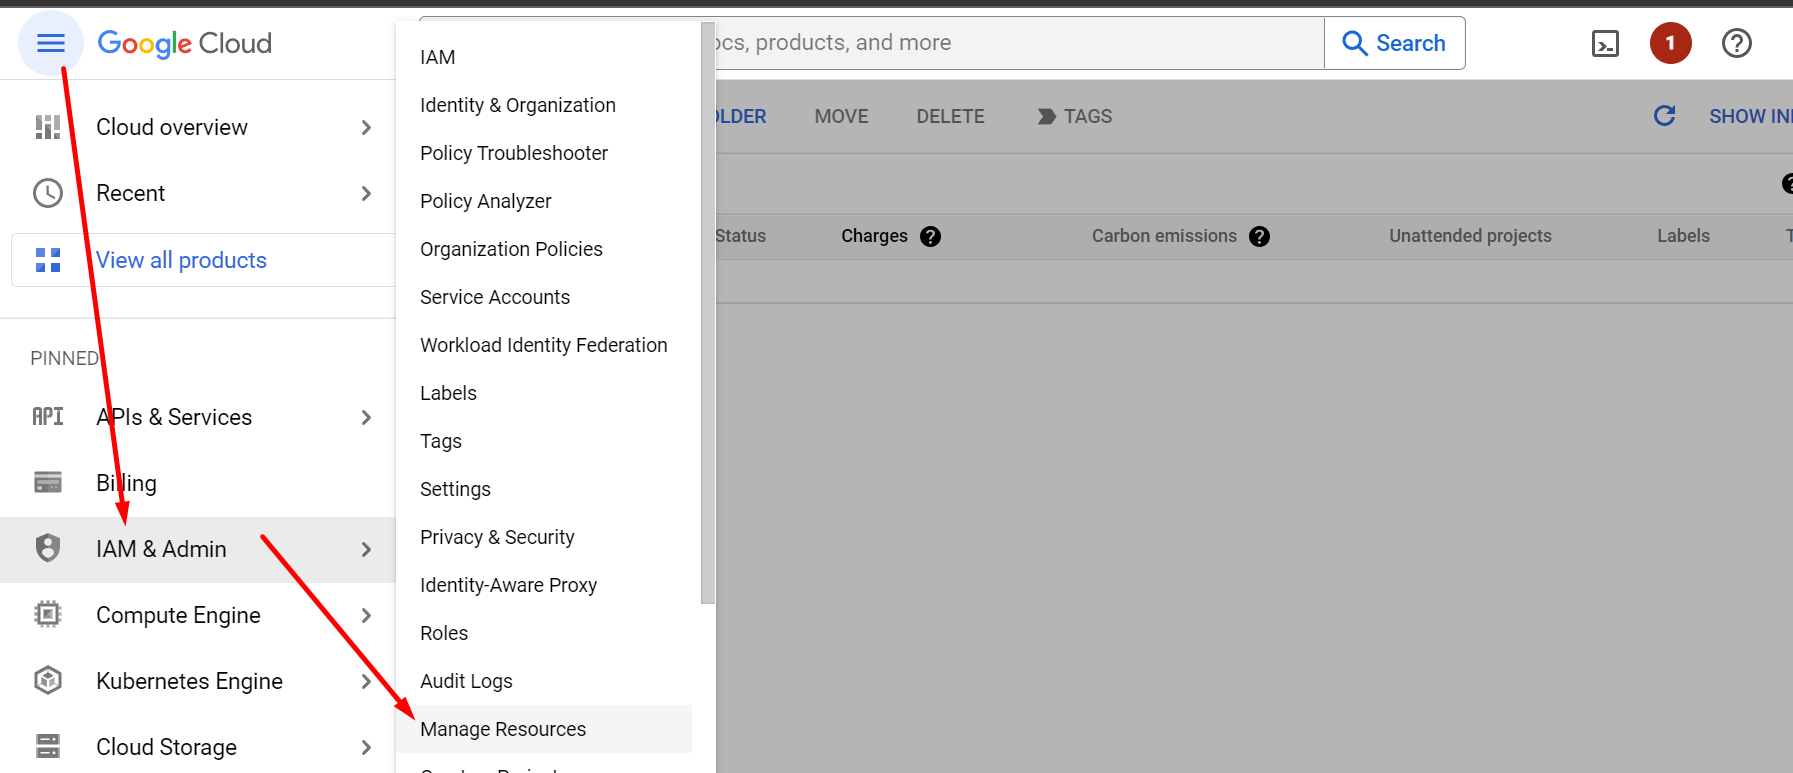
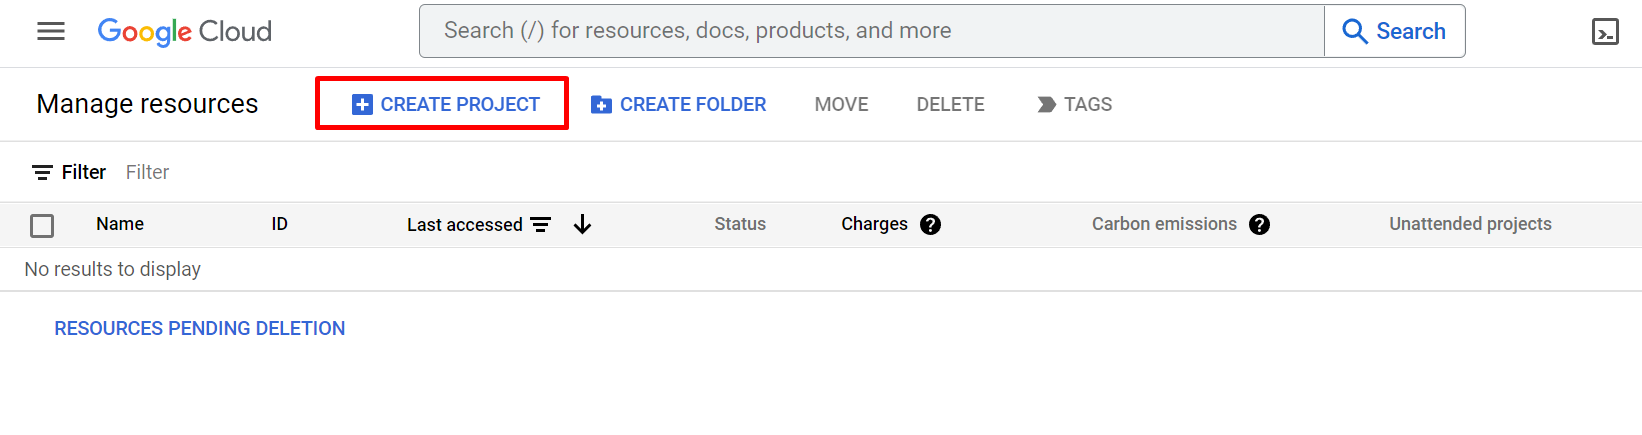
- Click on Create Project button
- Give the Project name and click Next
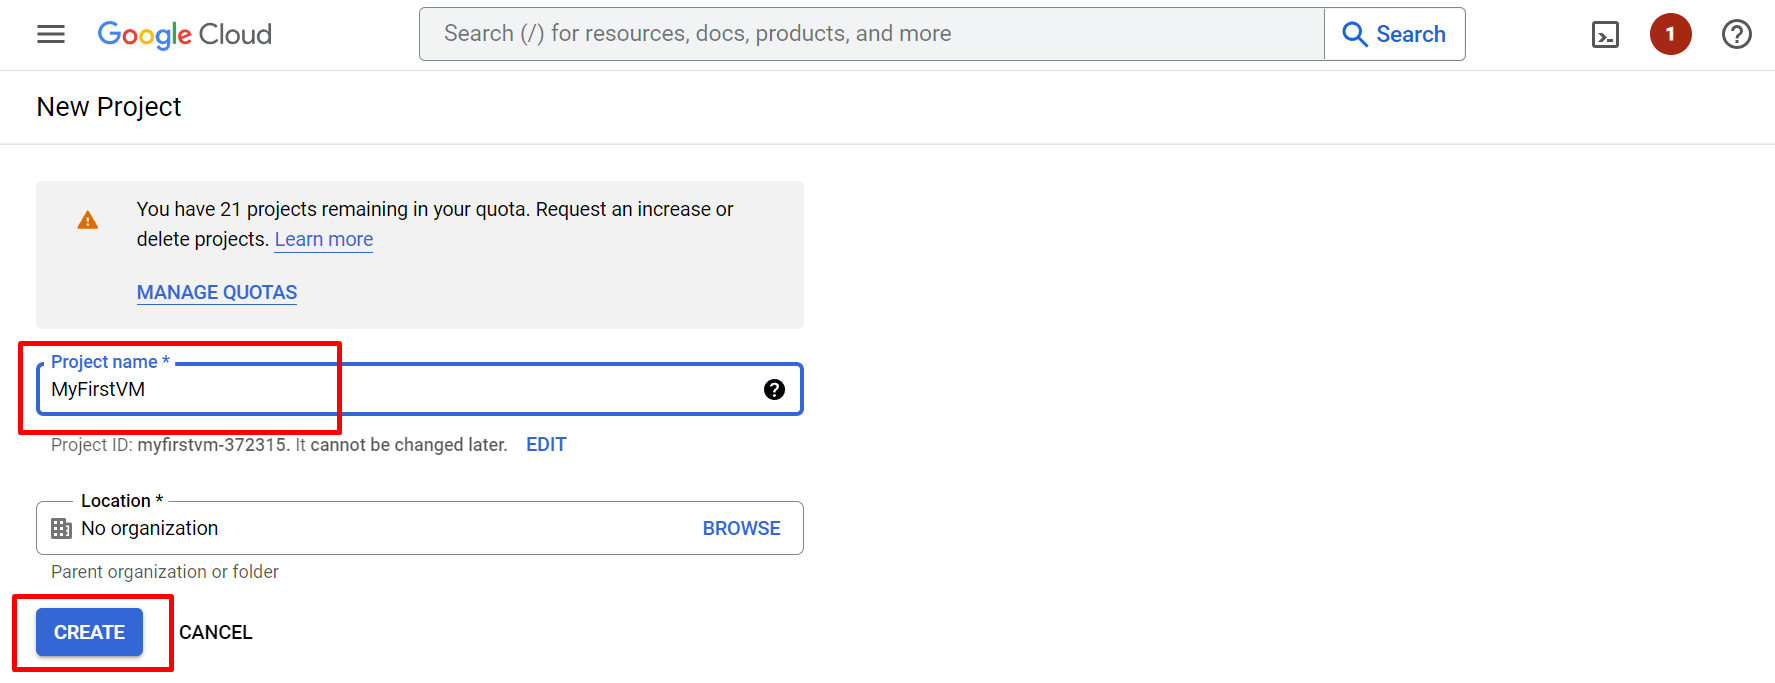
- Refresh, project will listed project created successfully

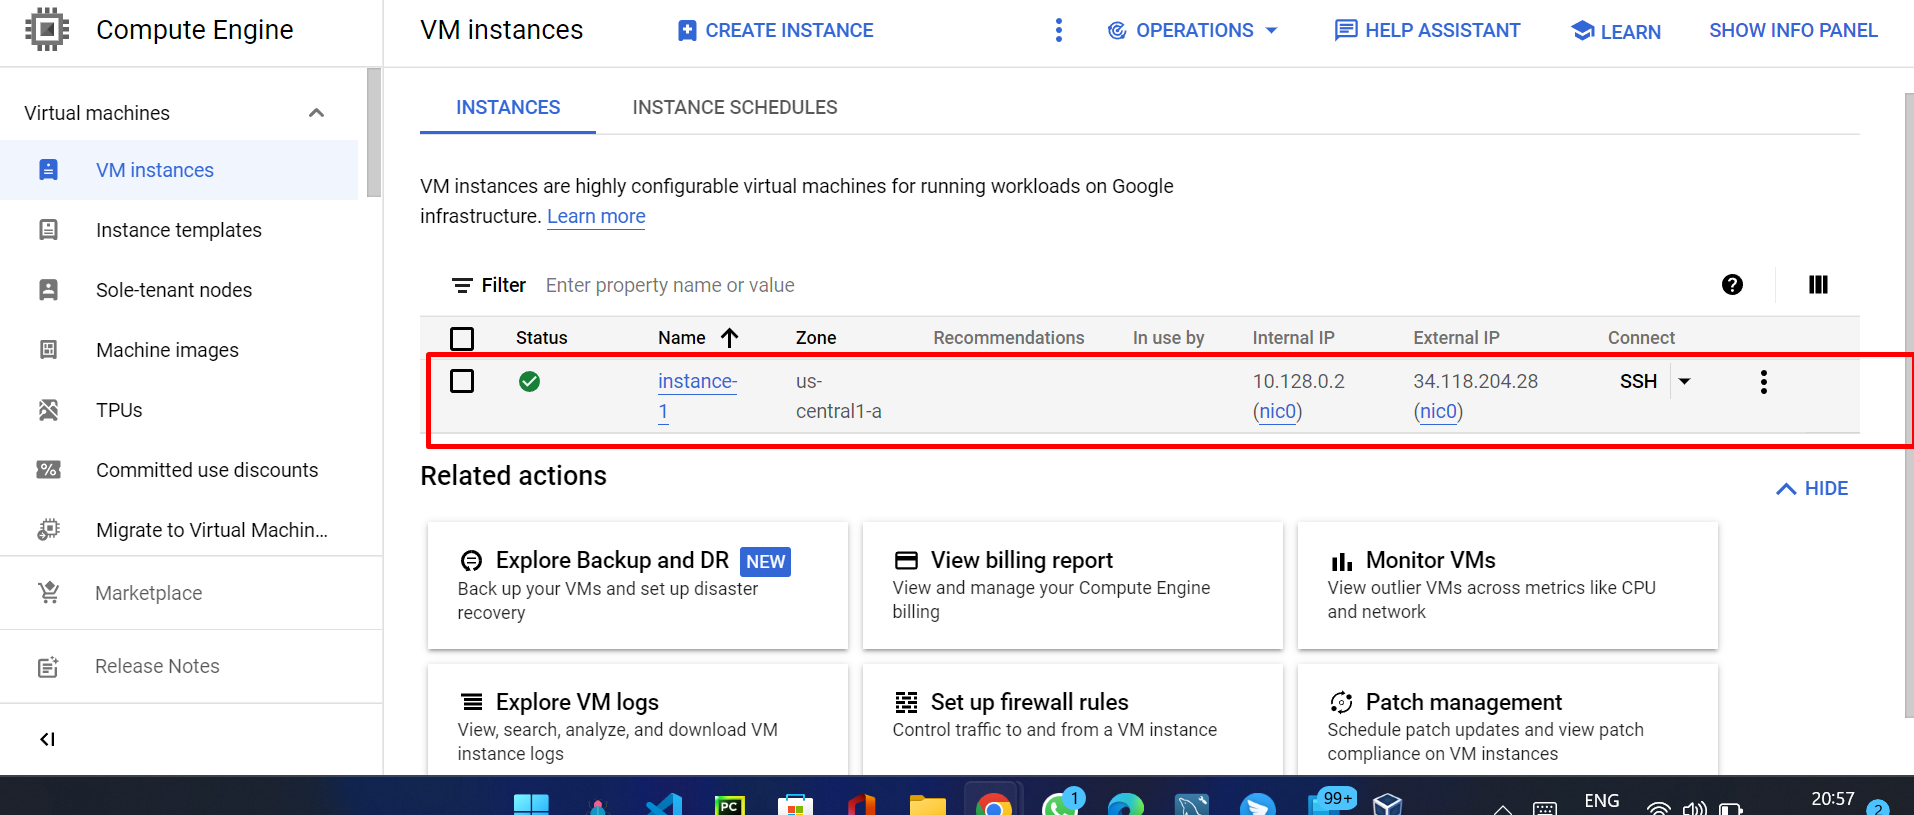
- Go to Menu > Compute Engine > VM Instances
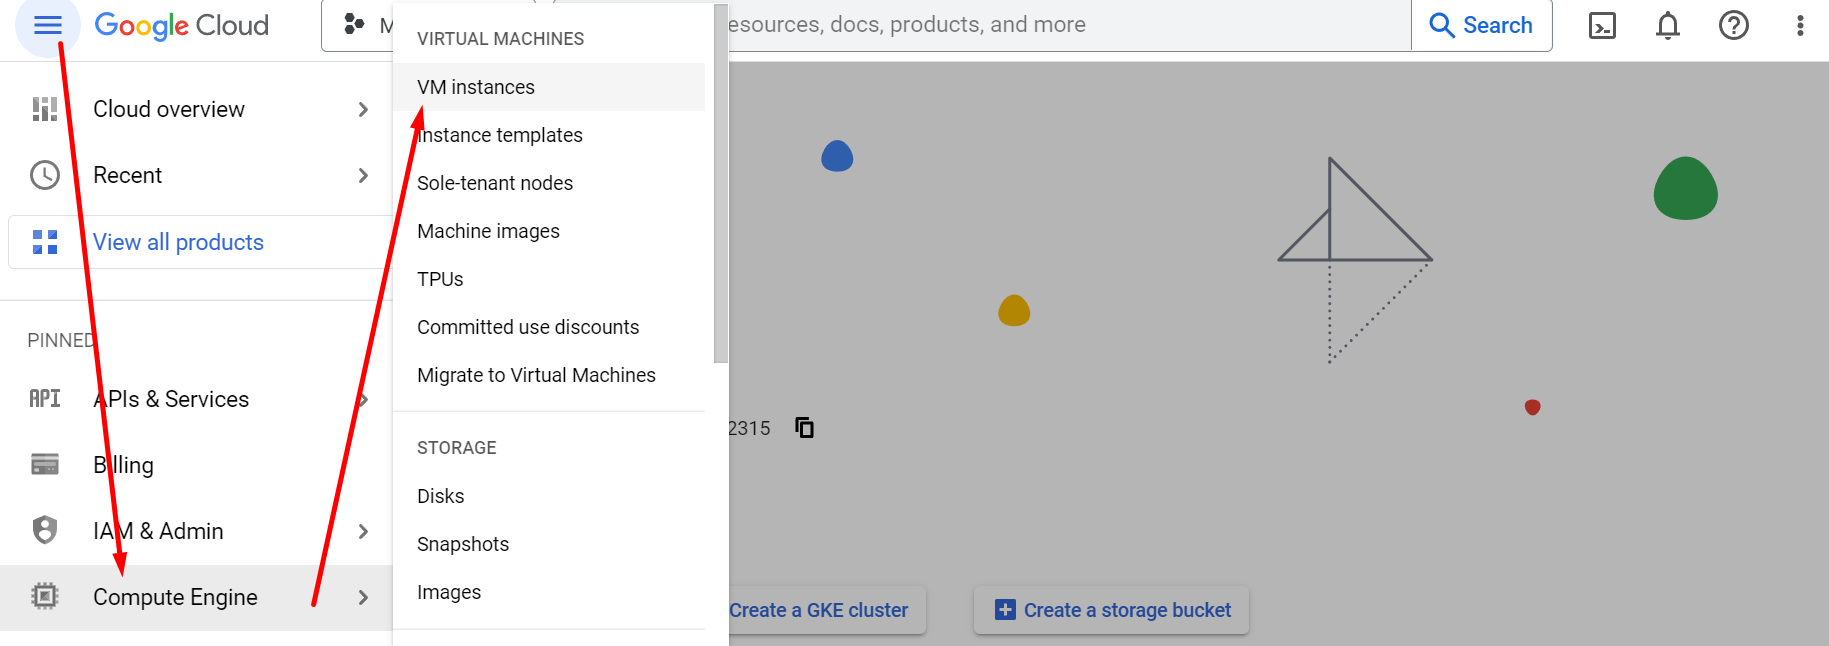
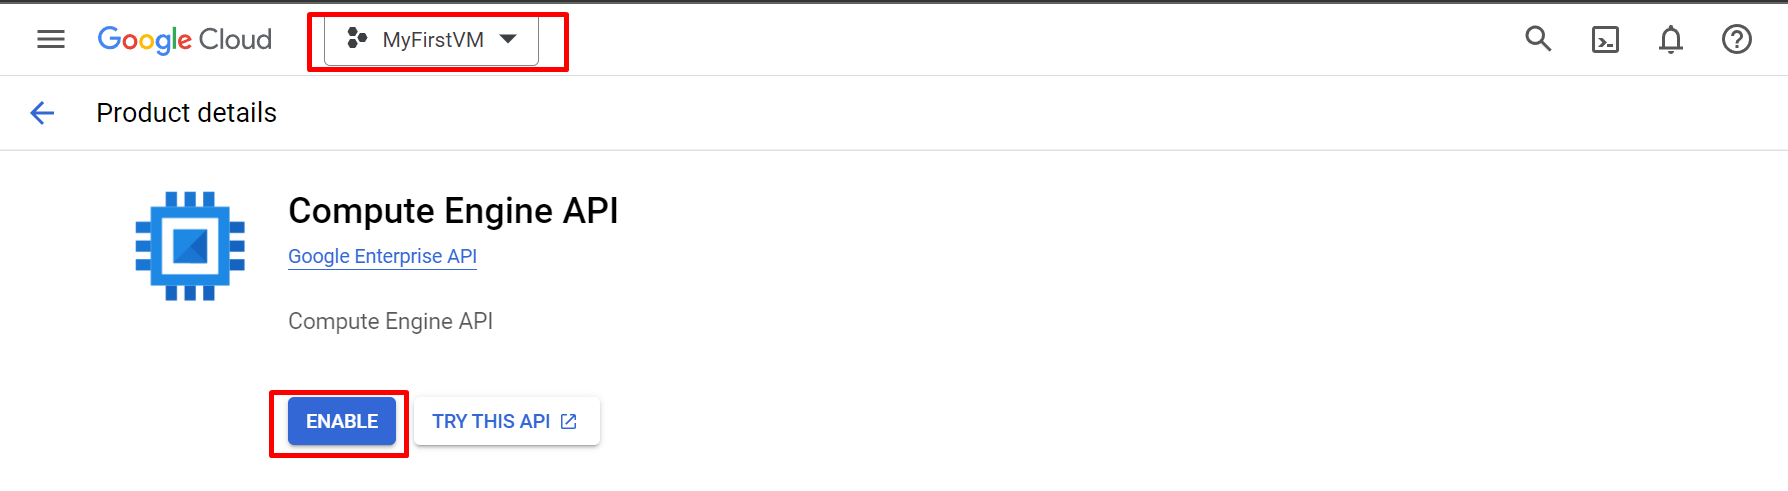
- Make sure Project name selecte top then click on Enable API if ask
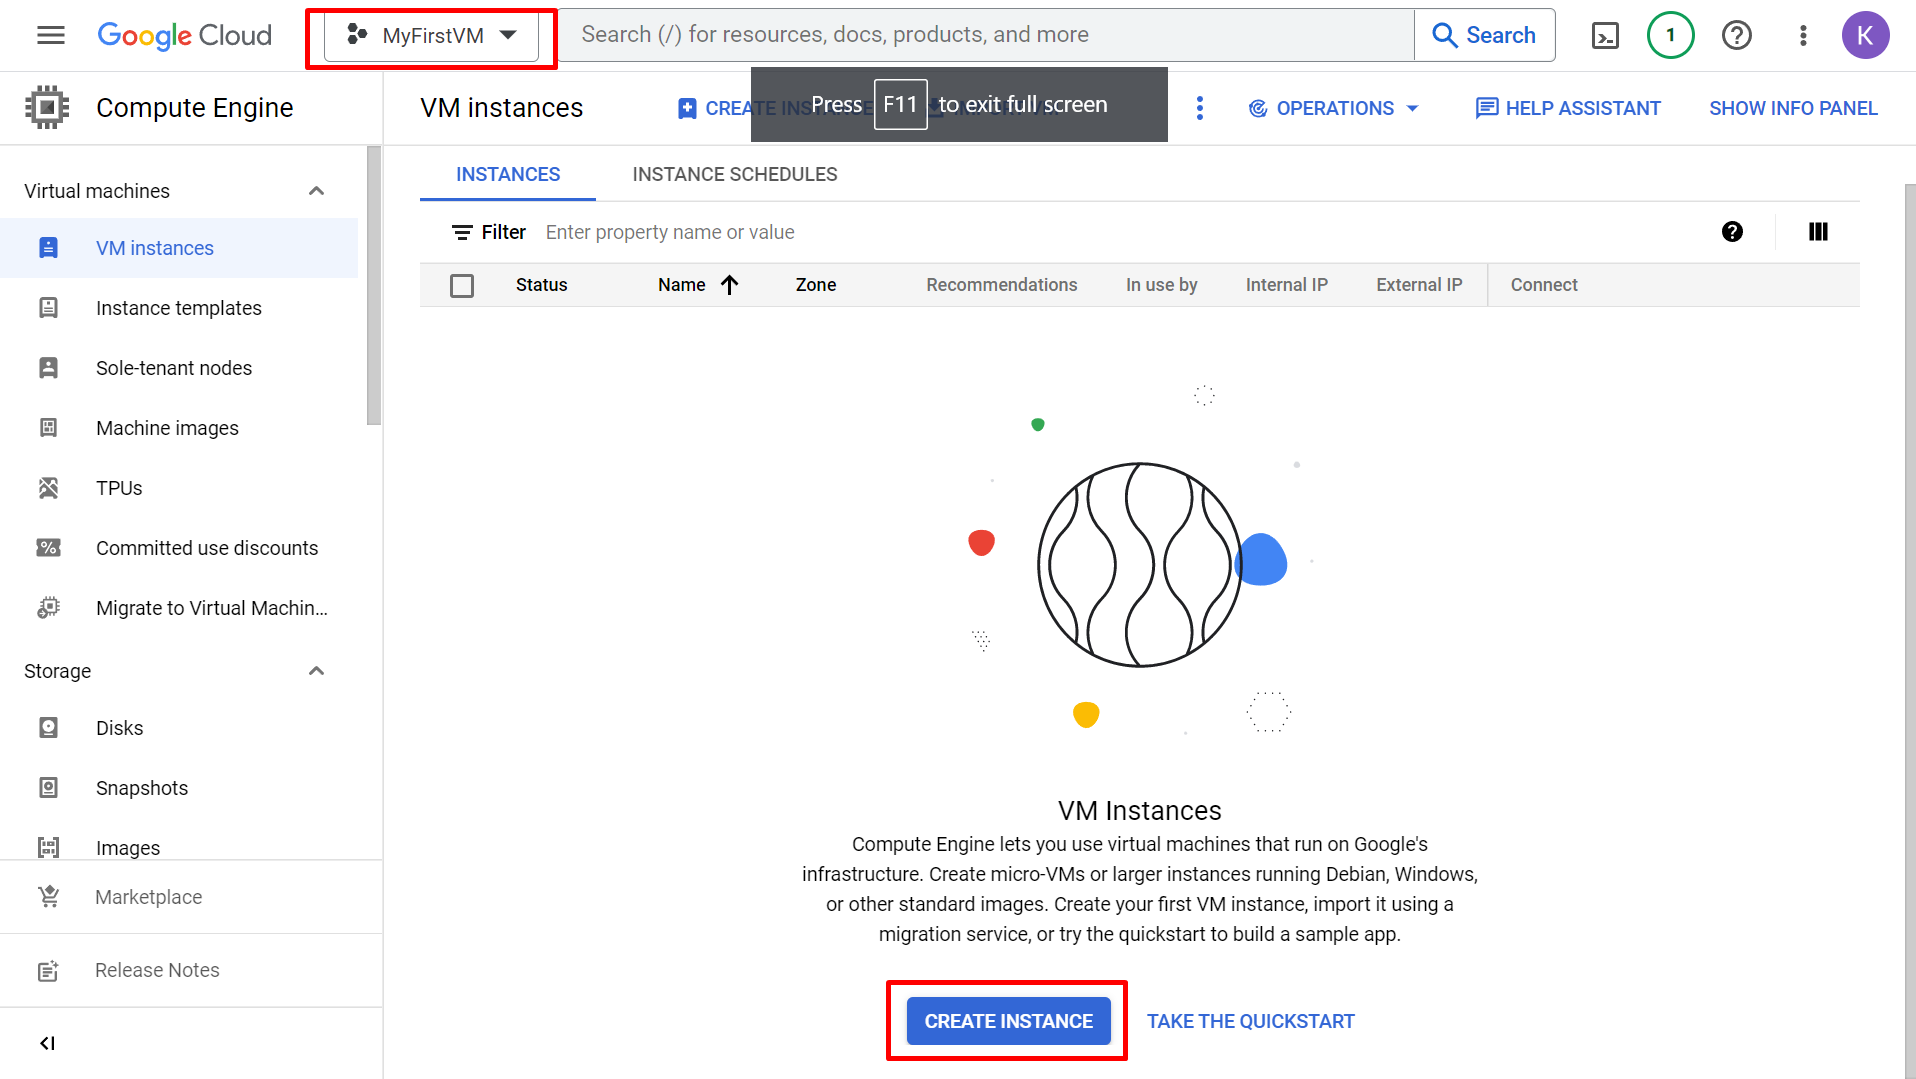
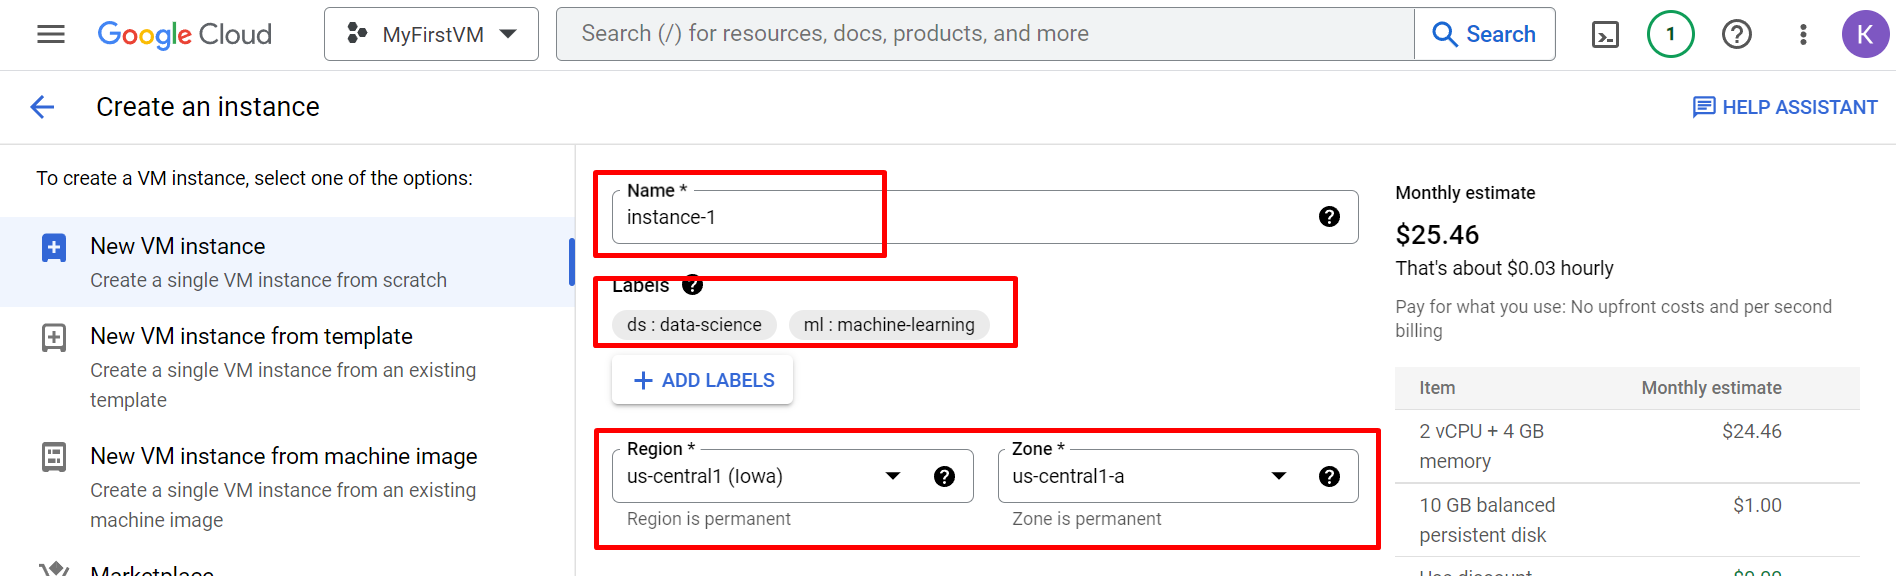
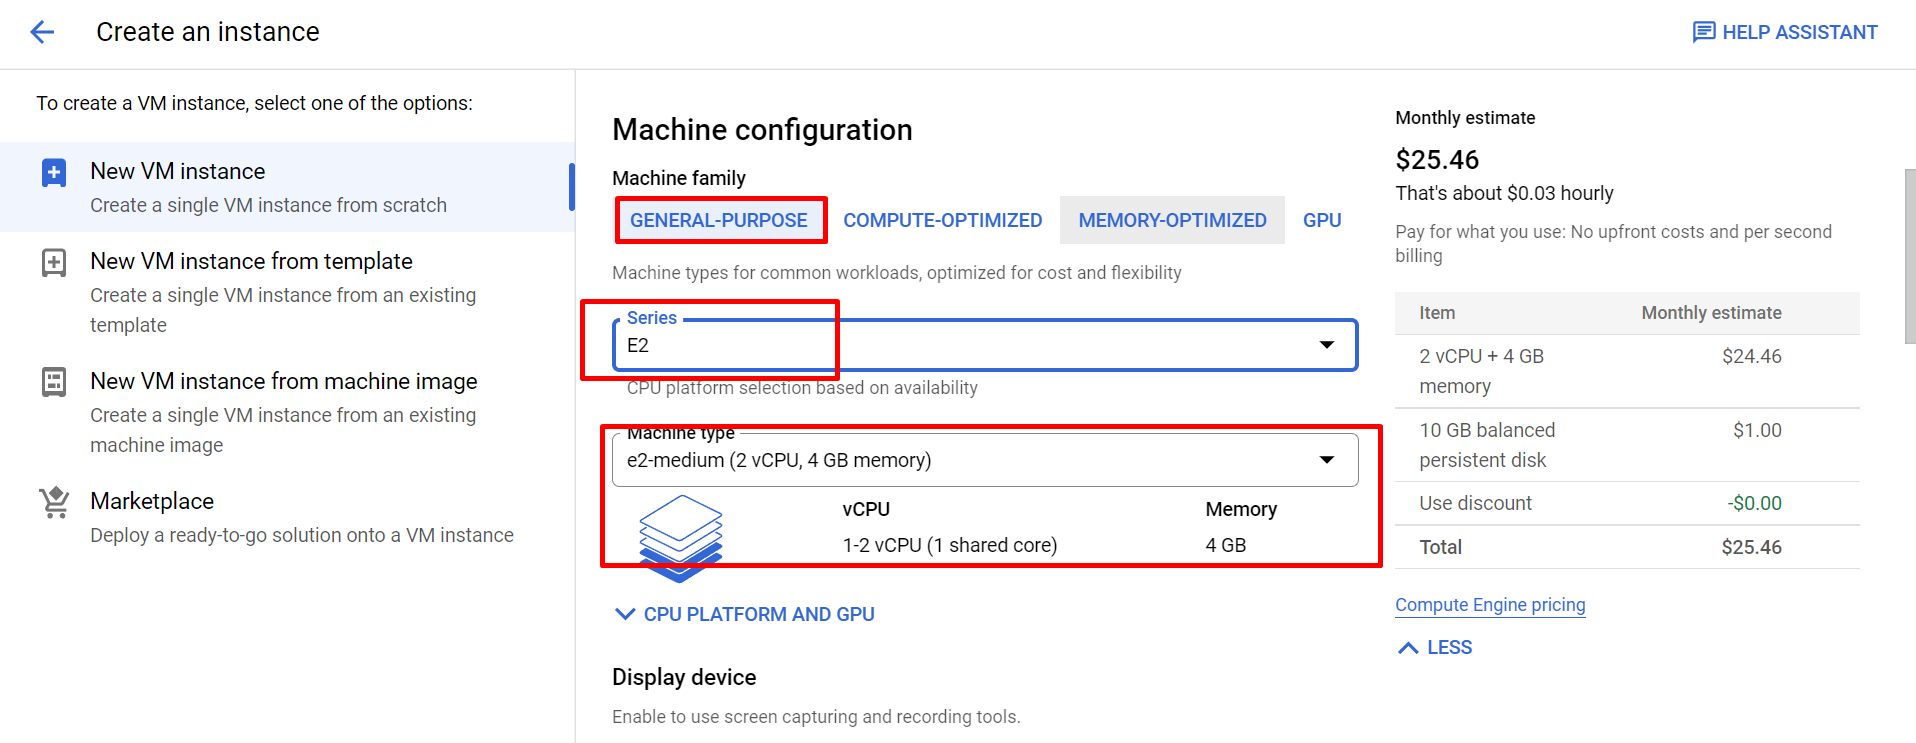
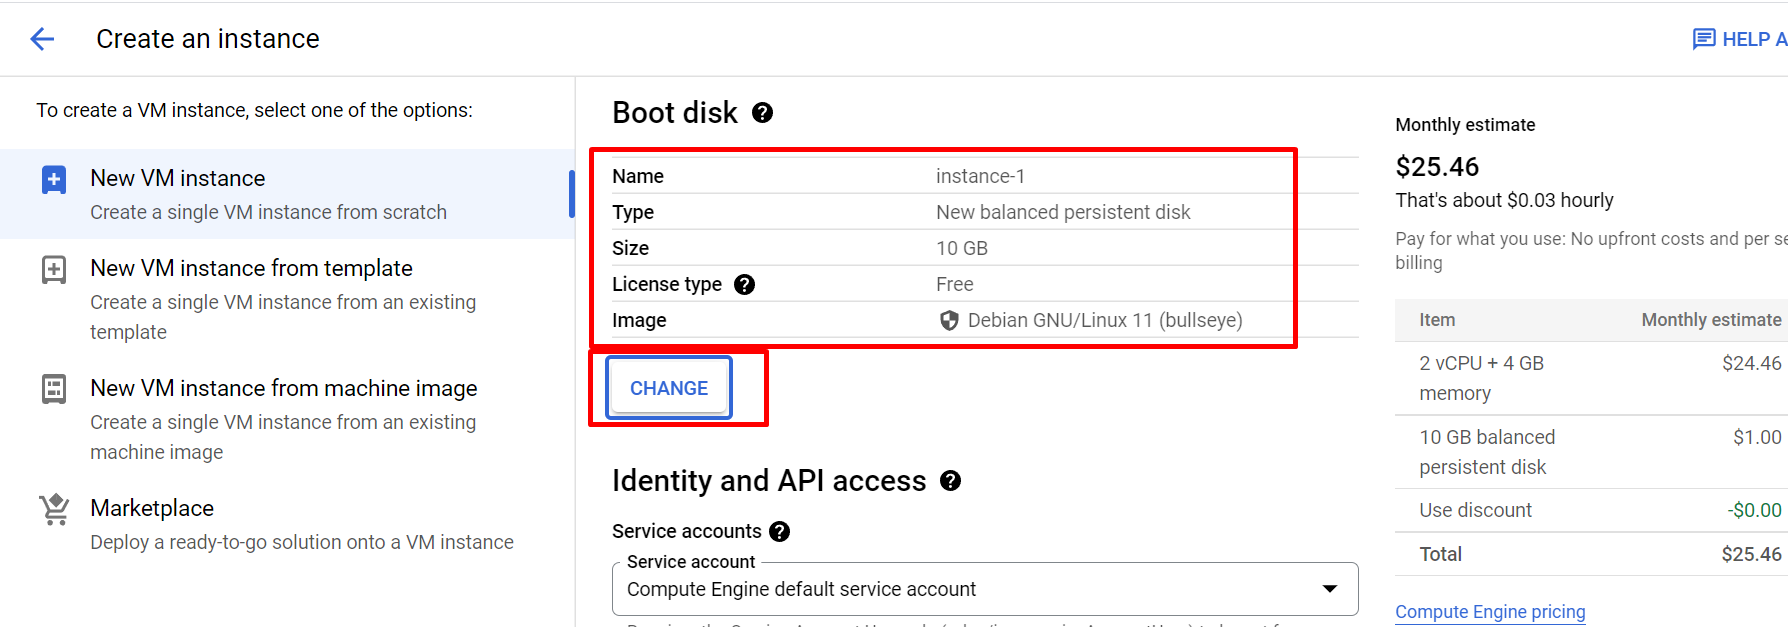
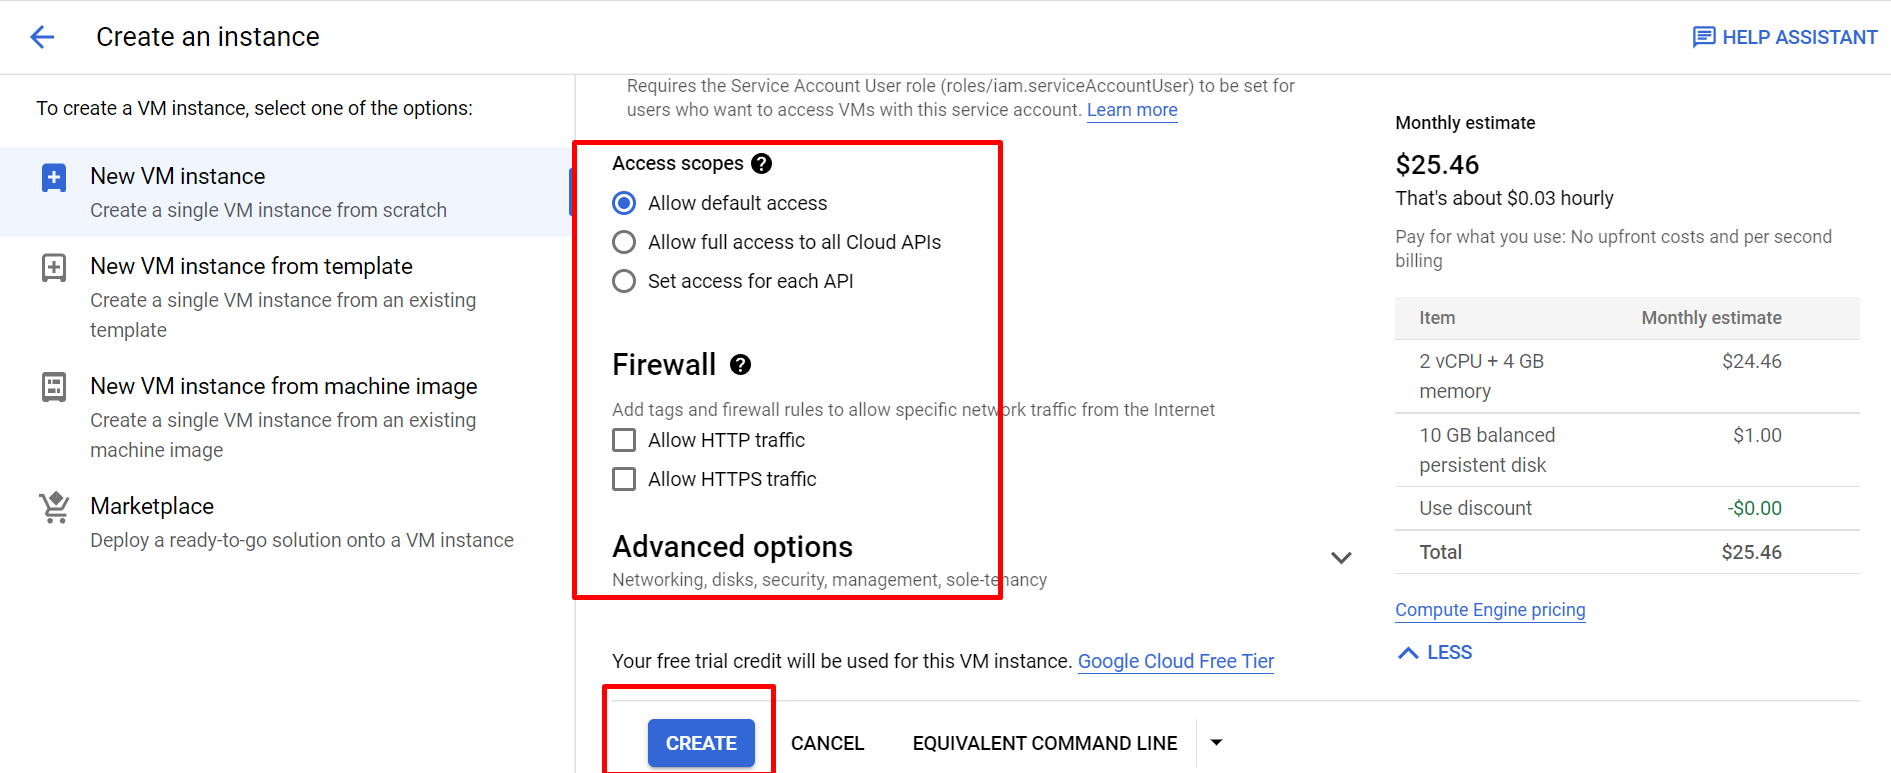
- Create VM Instance

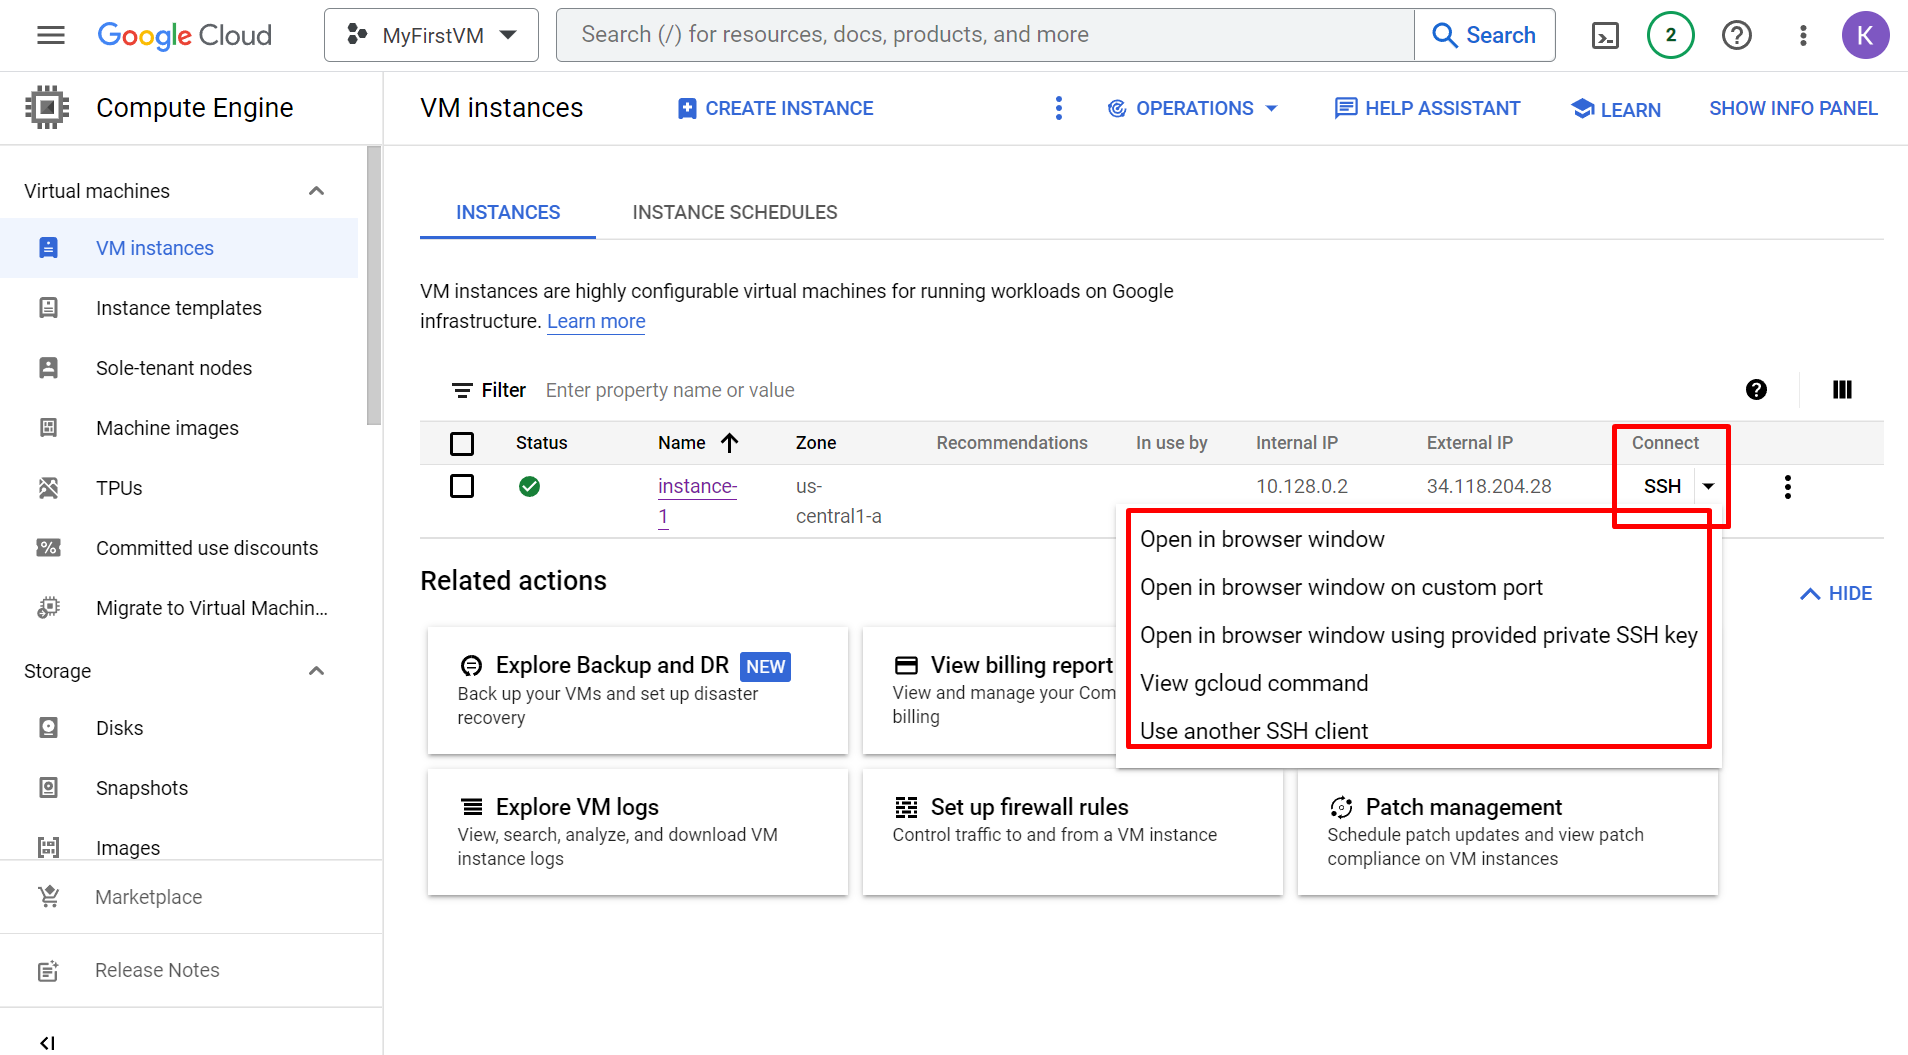
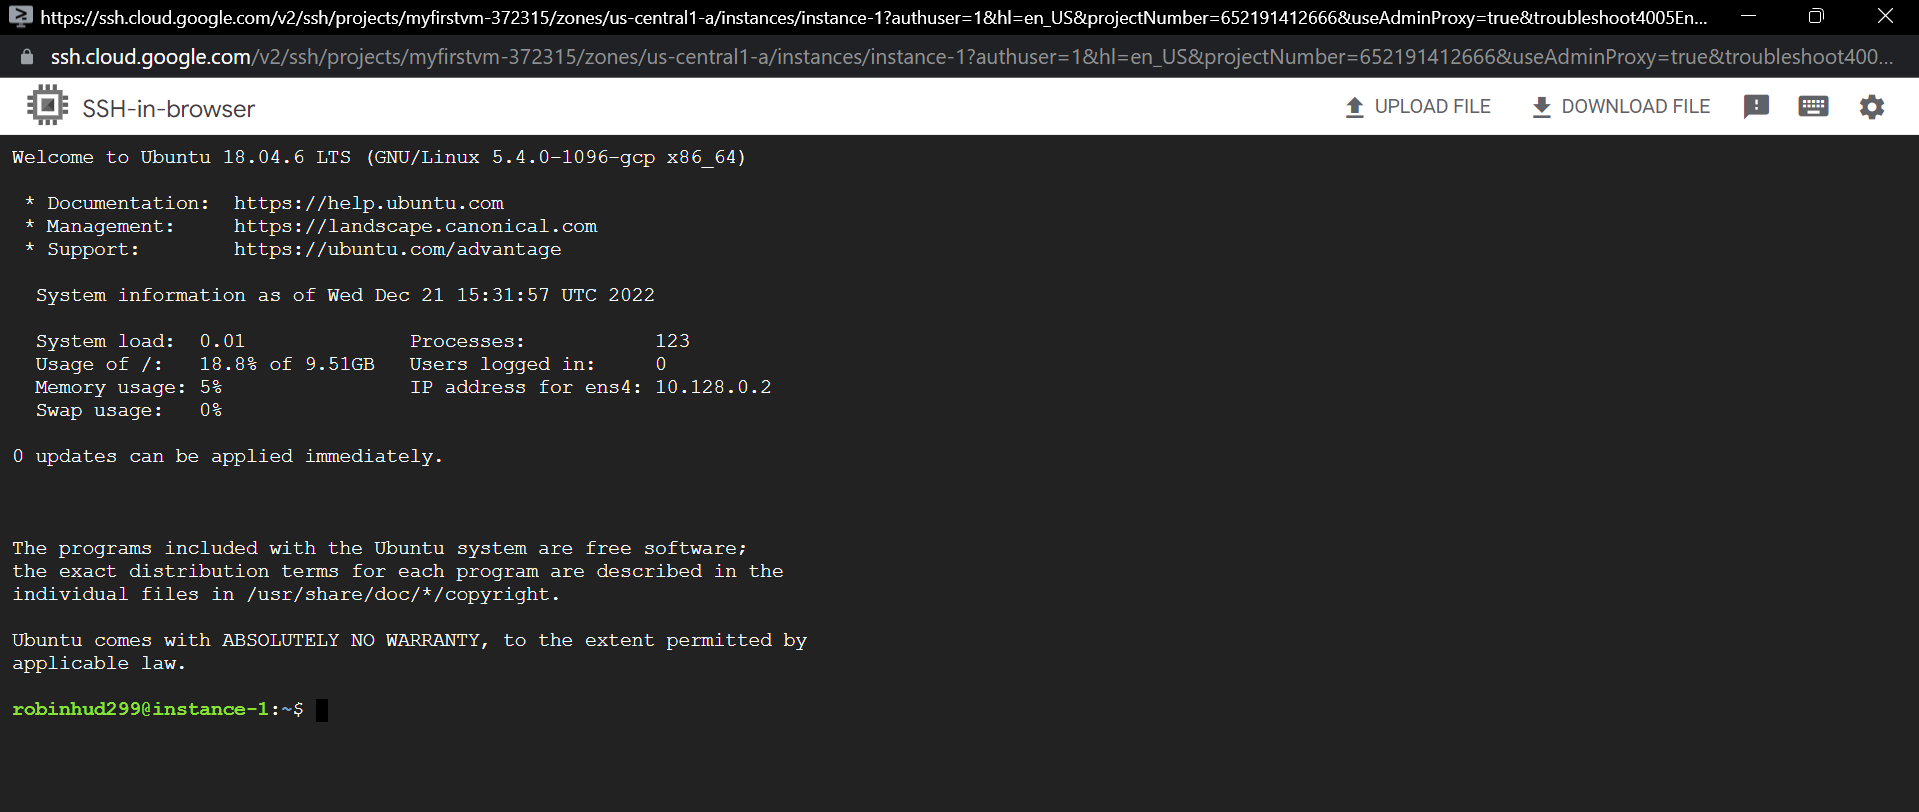
- Connect in Browser: Select first option in COnnect option after it will open new tab
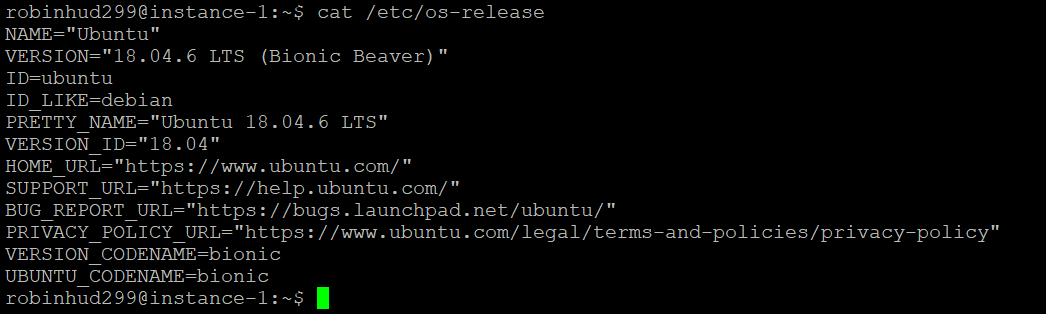
- run some basic commands to check
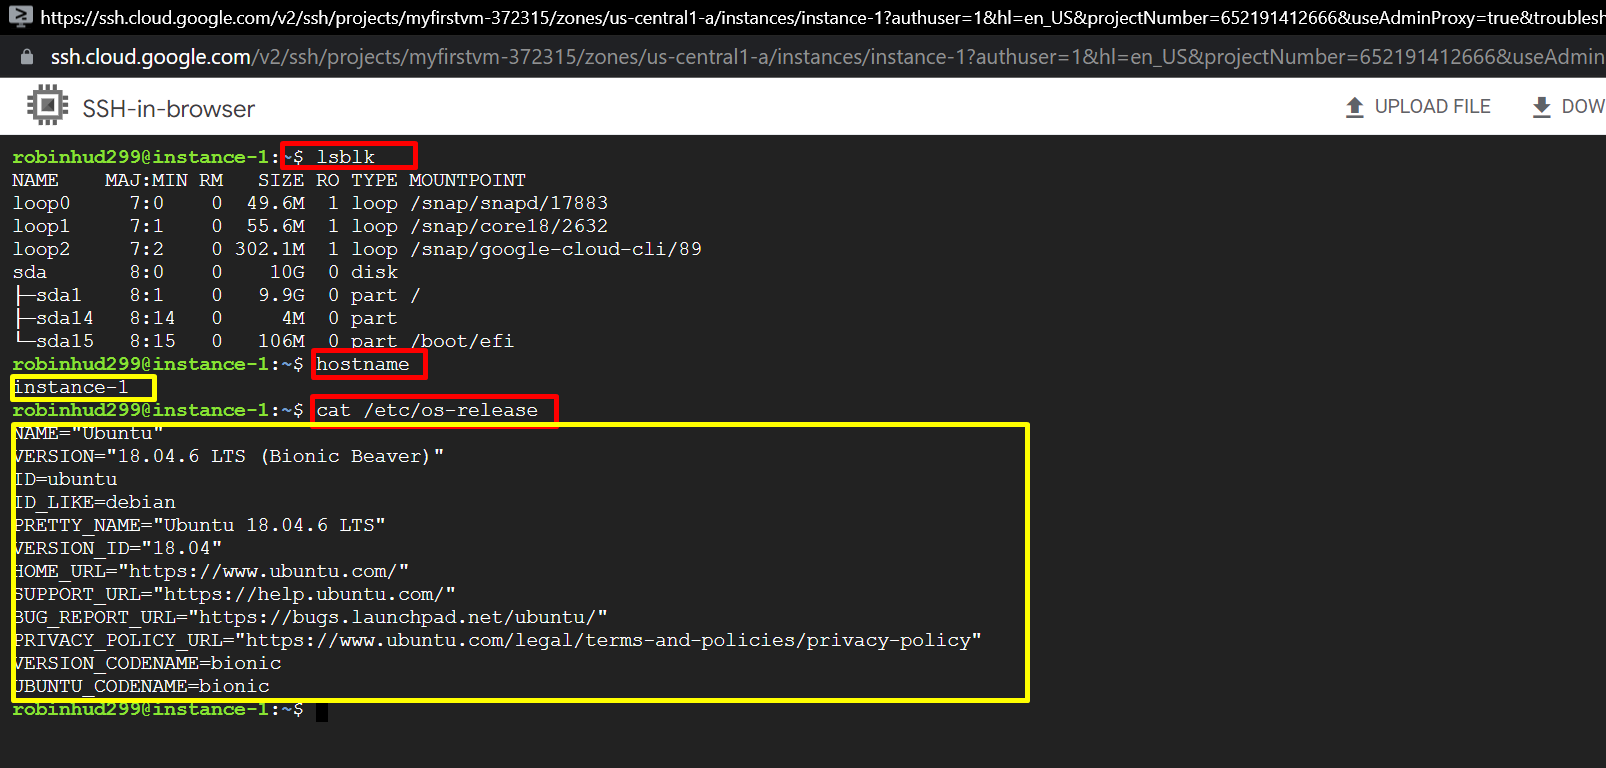
- run some basic commands to check
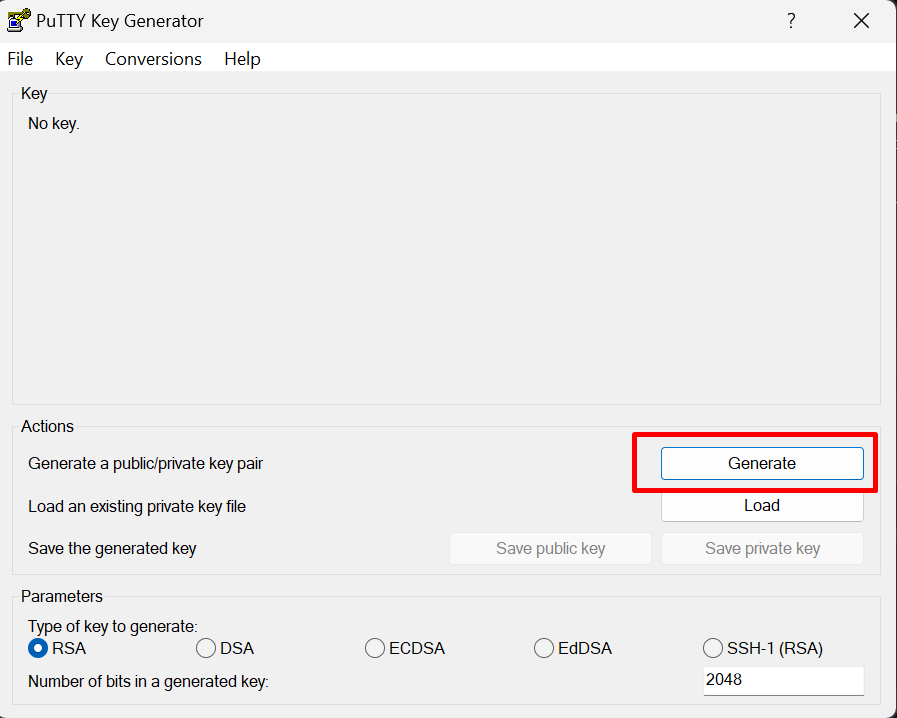
- To generate SSH key install PuttyGen, download link https://puttygen.com/download.php?val=49
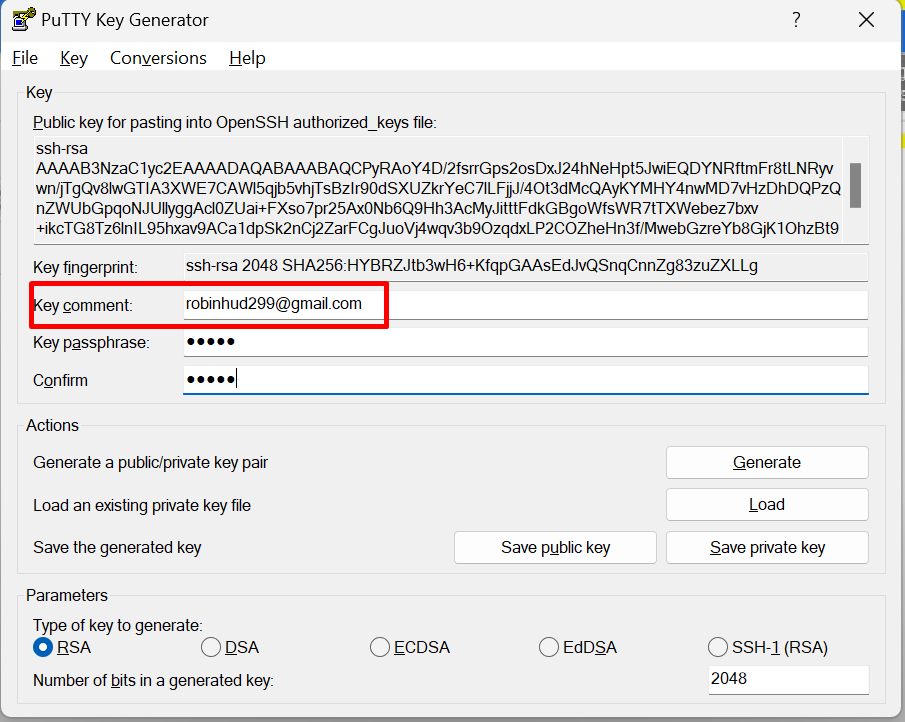
- Open PuttyGen and click on generate
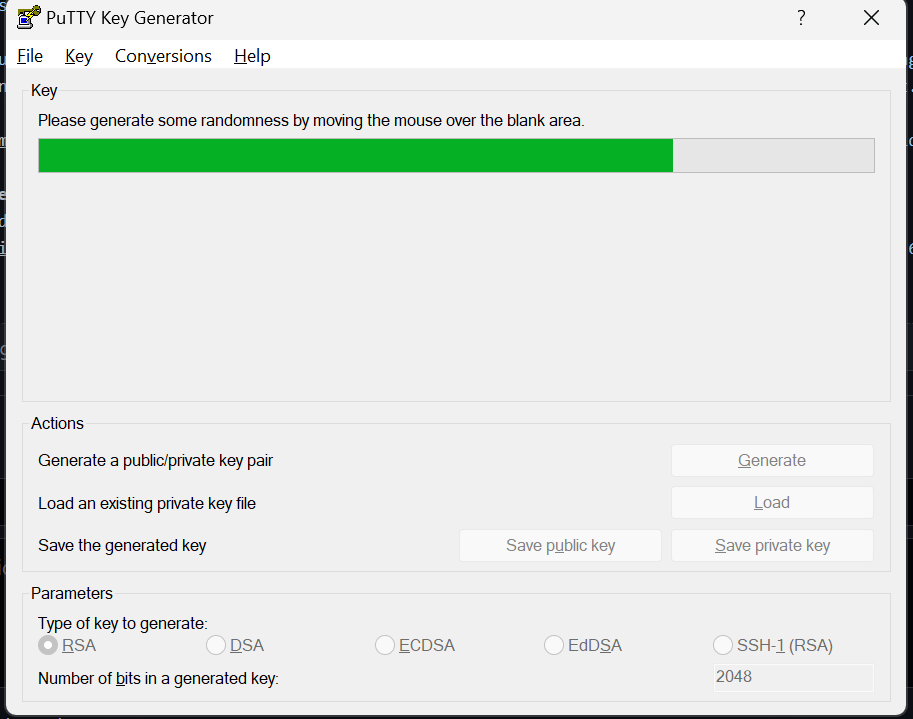
- While generating the key move mouse cursor anywhere until it get completed
- Replace Key Comment value with the gmail id of that GCP account and enter passphrase and confirm like 12345, this passphrase required to connect WinSCP
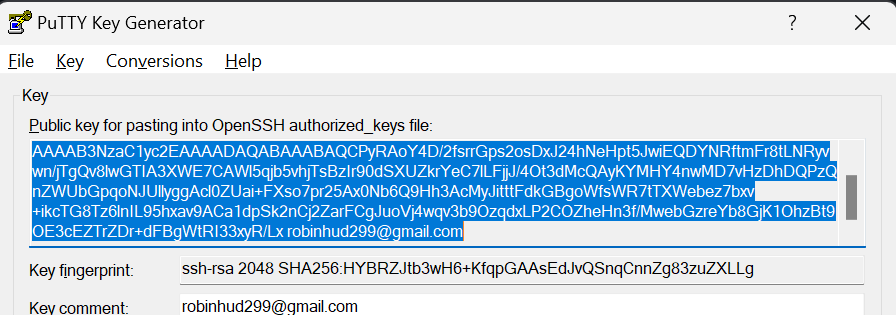
- Now, save this key as once Public and once Private by clicking both
Save Public keyandSave Private Key(private key will be .ppk)
- Now, Copy the entire generate key
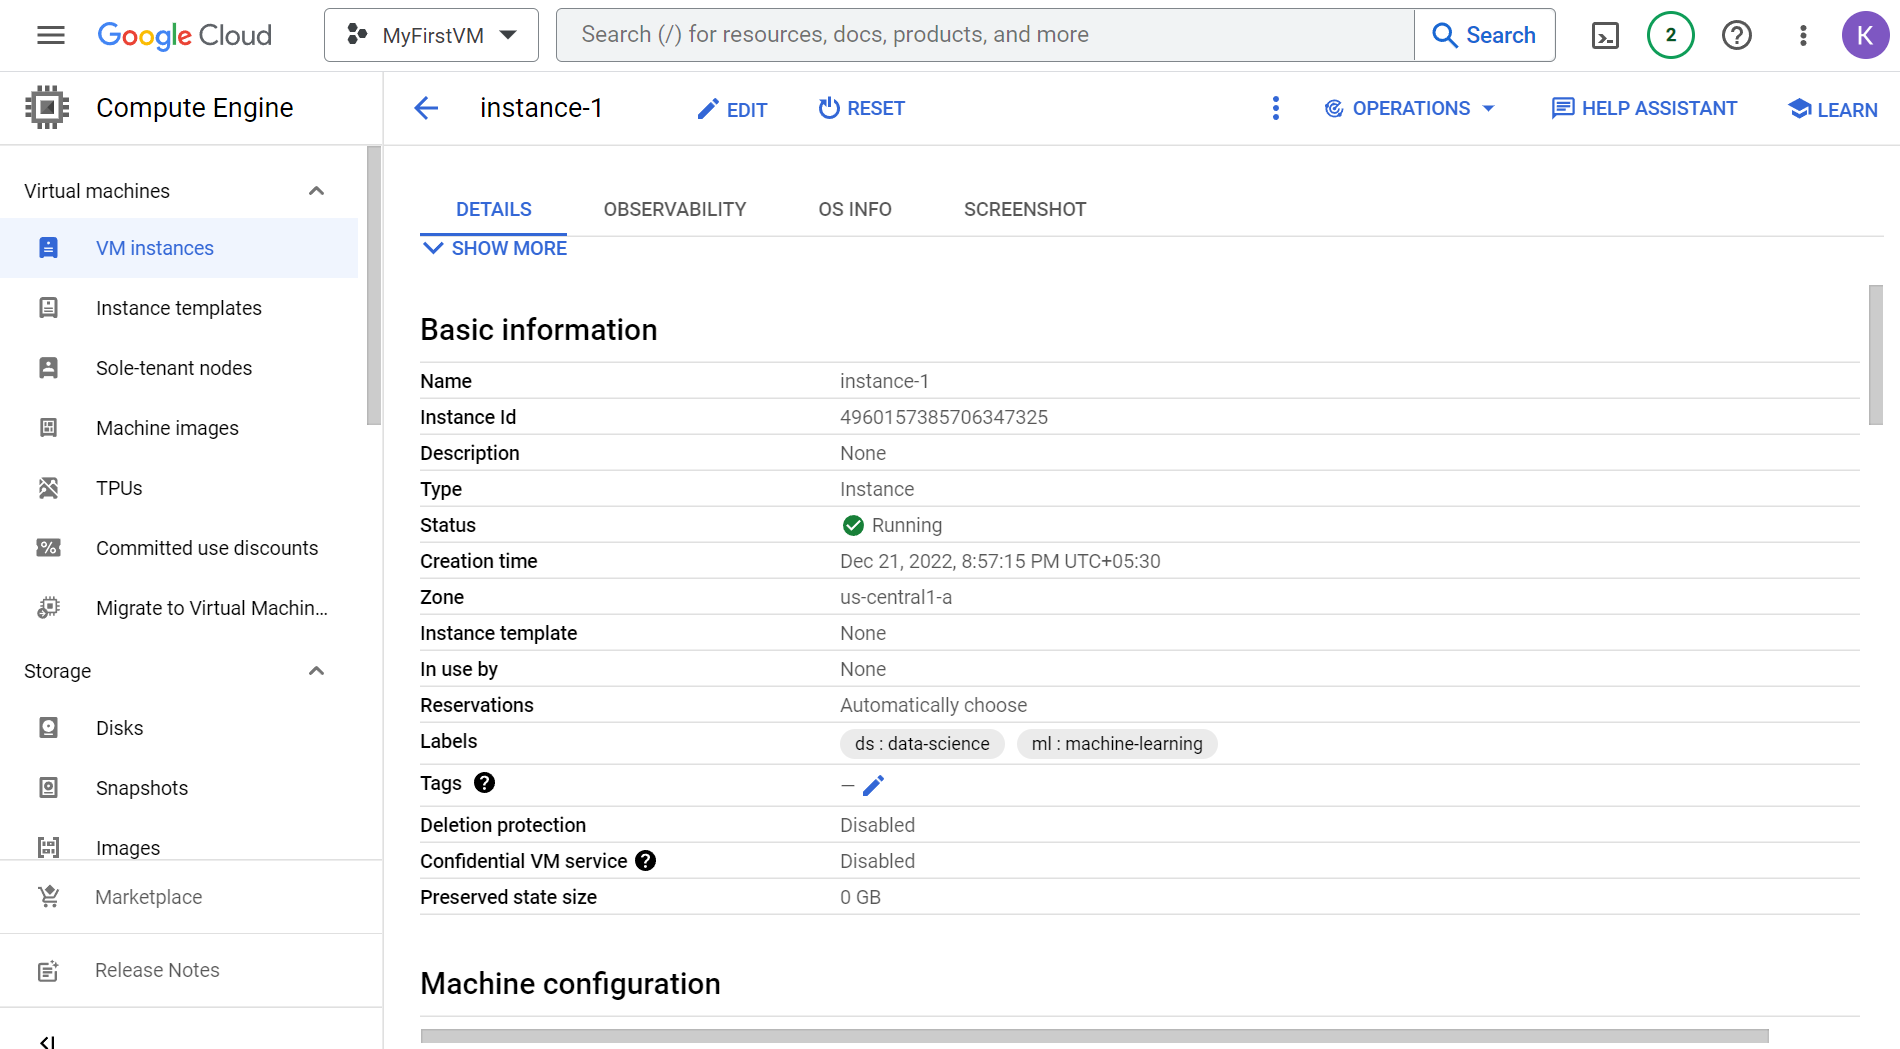
- Go to GCP VM instance Page under
VM Instancesclick on Edit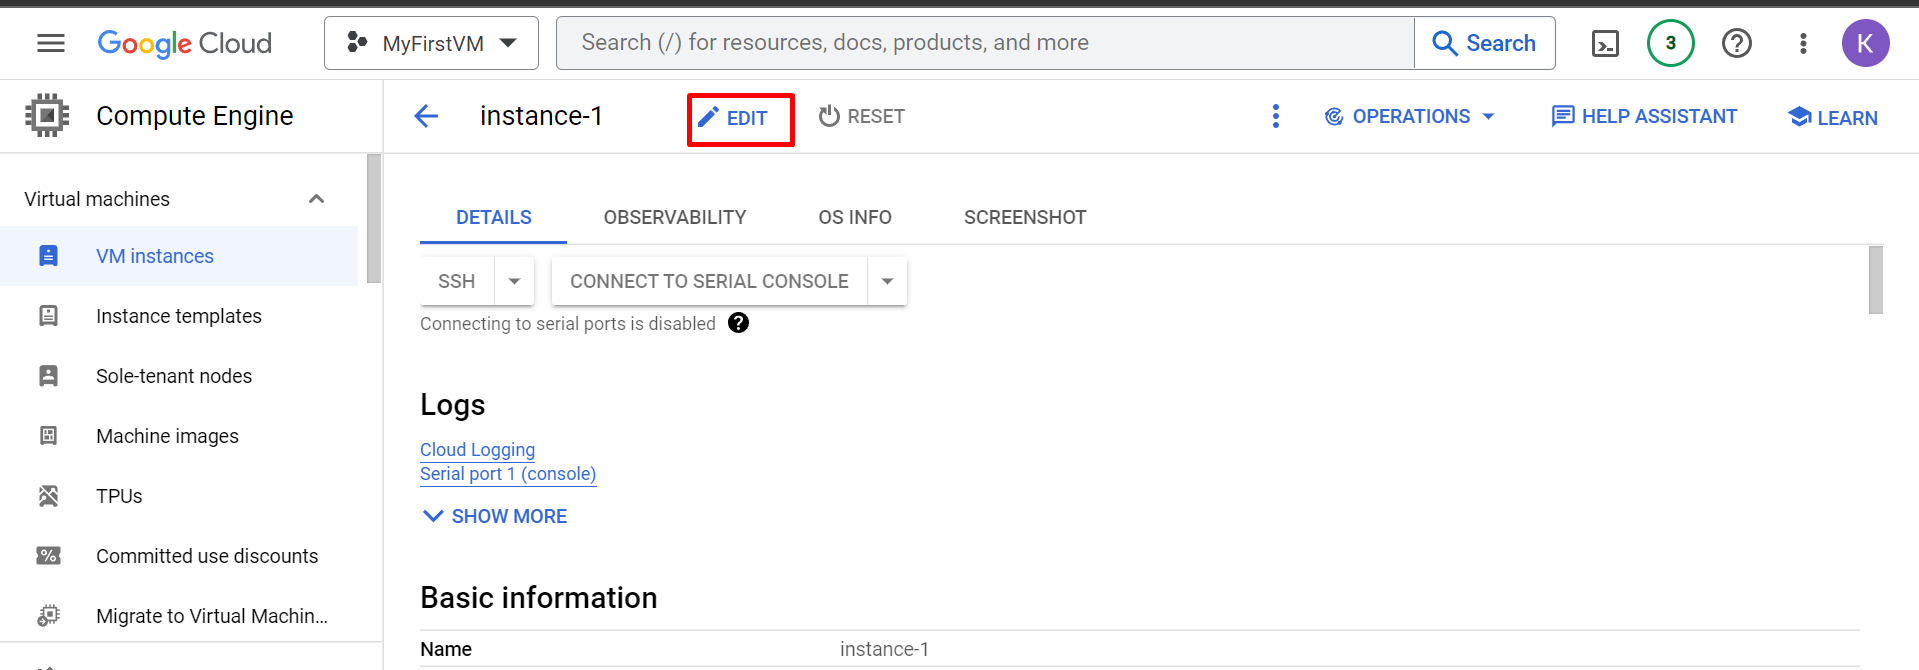
- Delete the existing keys and paste copied key and save it
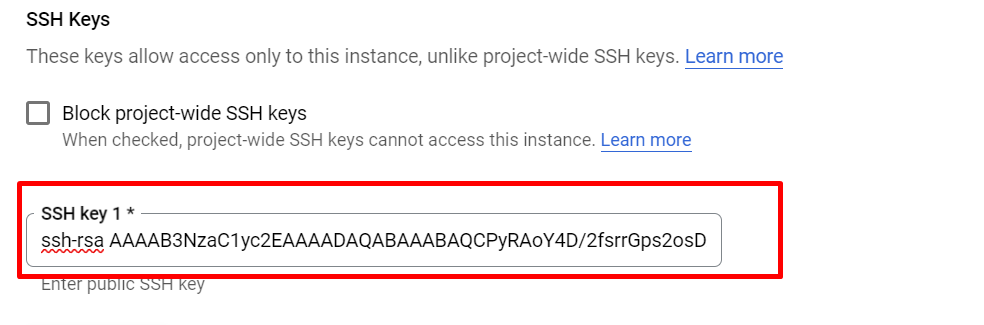
- After saving 'username as robinhud299'

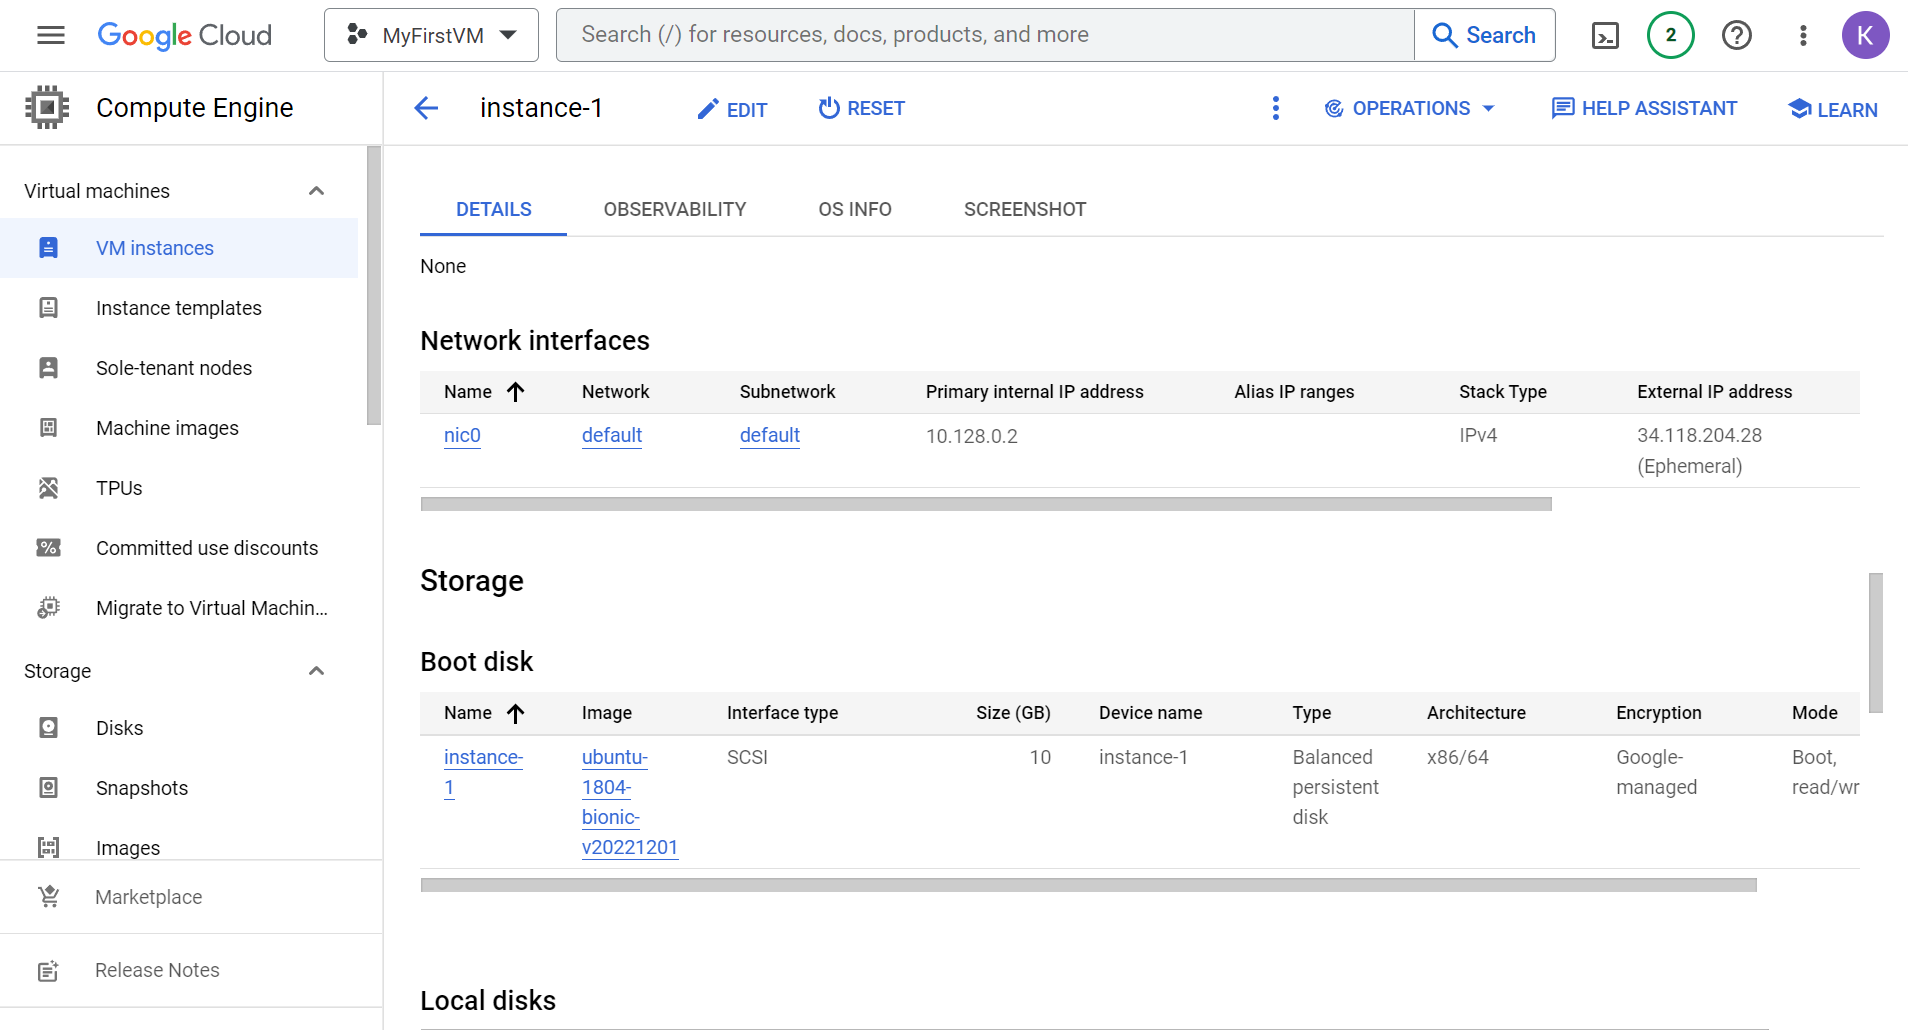
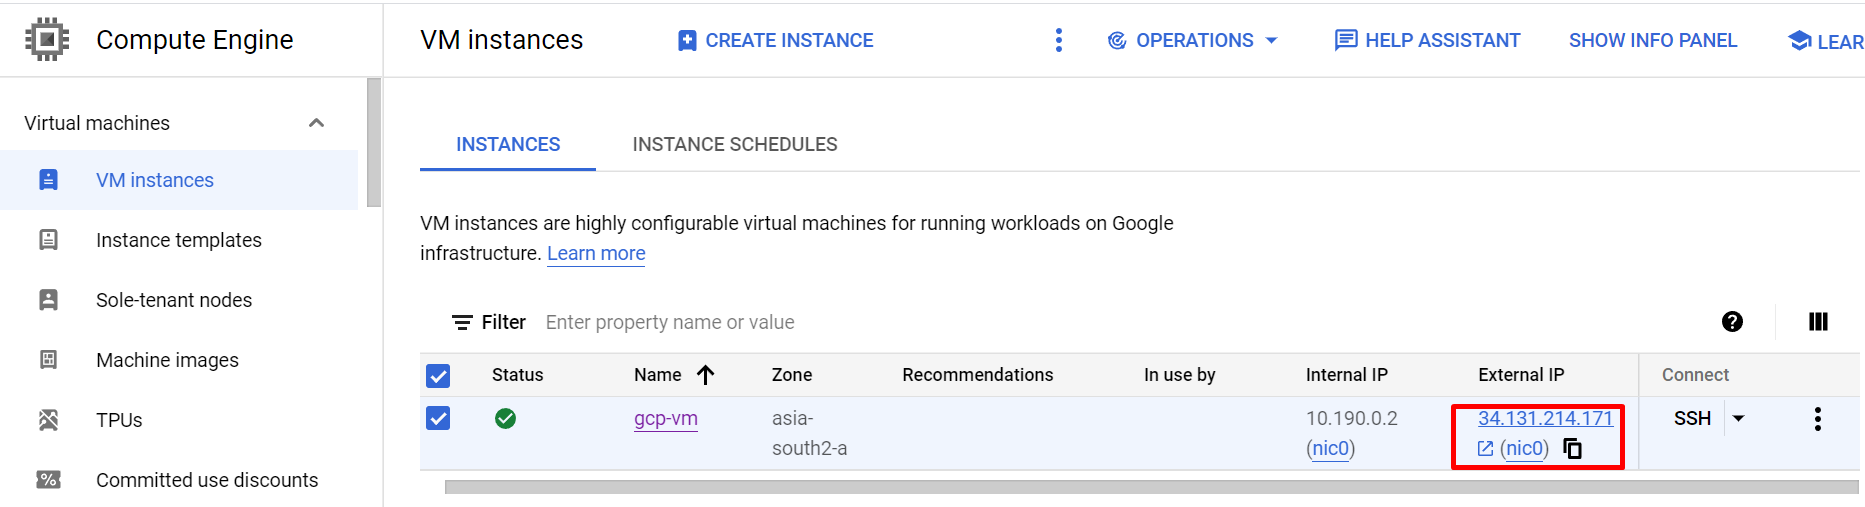
- Now, copy the External IP(Public IP), make sure instance is running else external ip will not visible
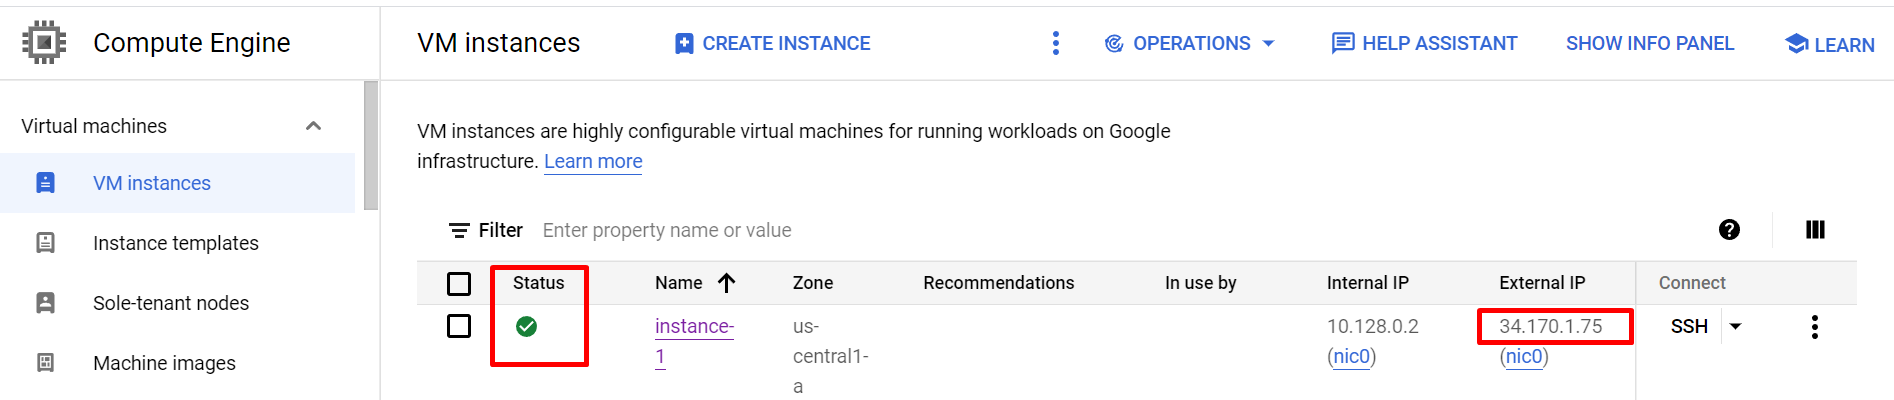
- Launch WinSCP and Enter Hostname as External Ip and Username as
robinhud299as created above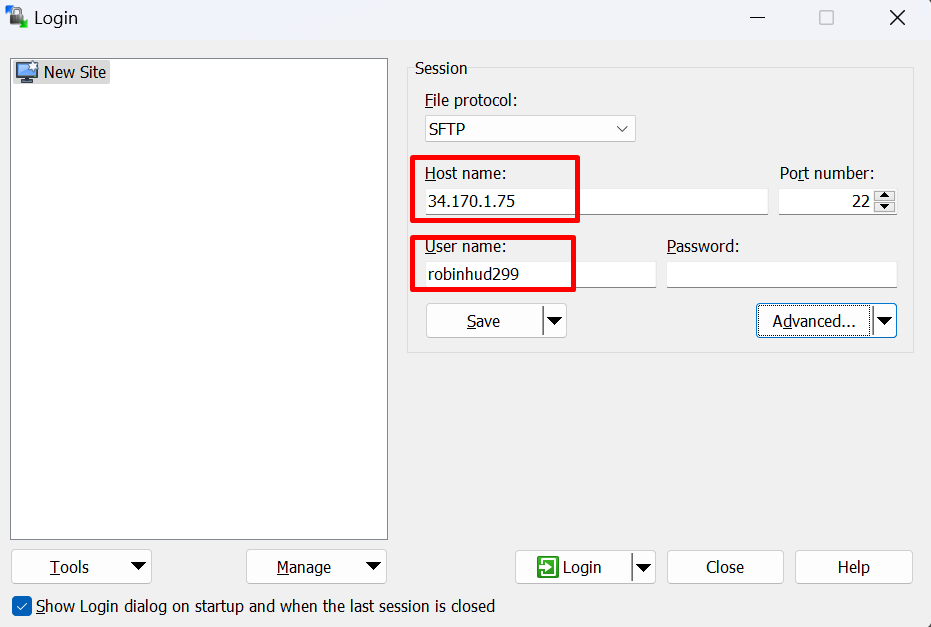
- Skip the Password field and click on Advance button then SSH > Authenticate and select the Private_key .ppk file saved earlier using Puttygen.
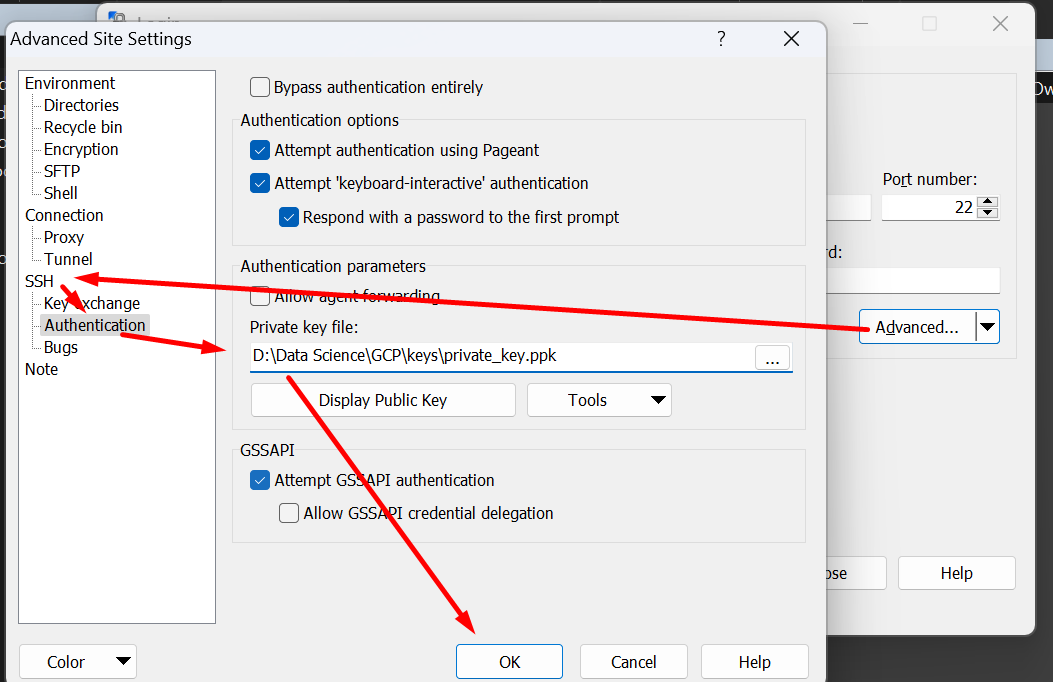
- Click on
Loginand click Yes if ask anything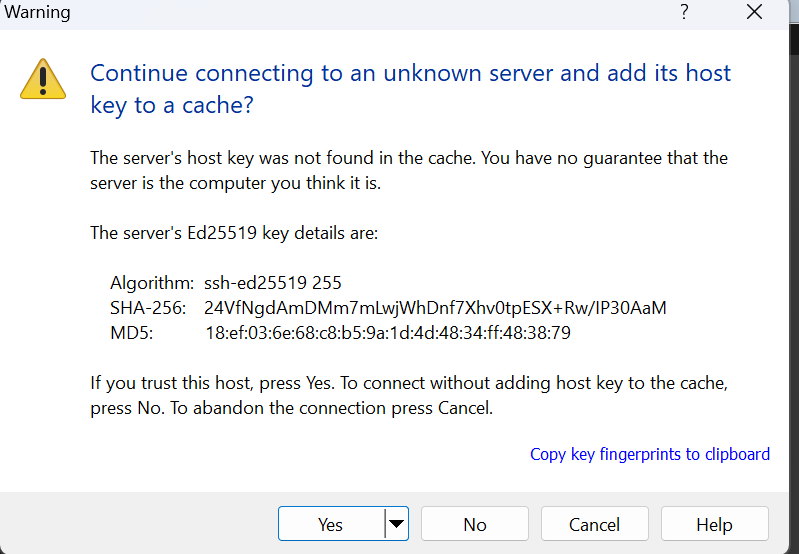
- Now enter the passphrase
12345same as enter while generating key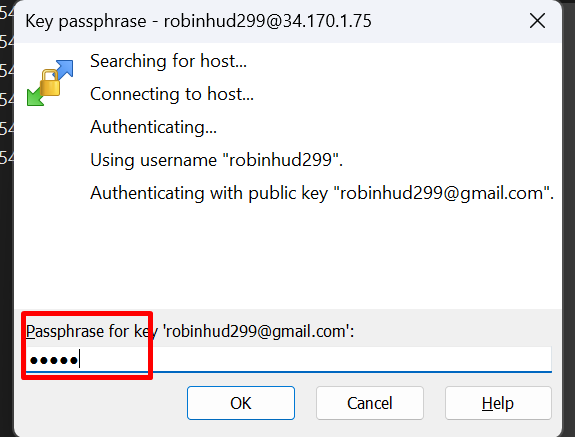
- Yaahoooooooooo!!!! Connected...
Connect Putty if alrady connected with WinSCP then just click on Open Session in Putty or Ctrl+P, it will ask passphrase enter the same
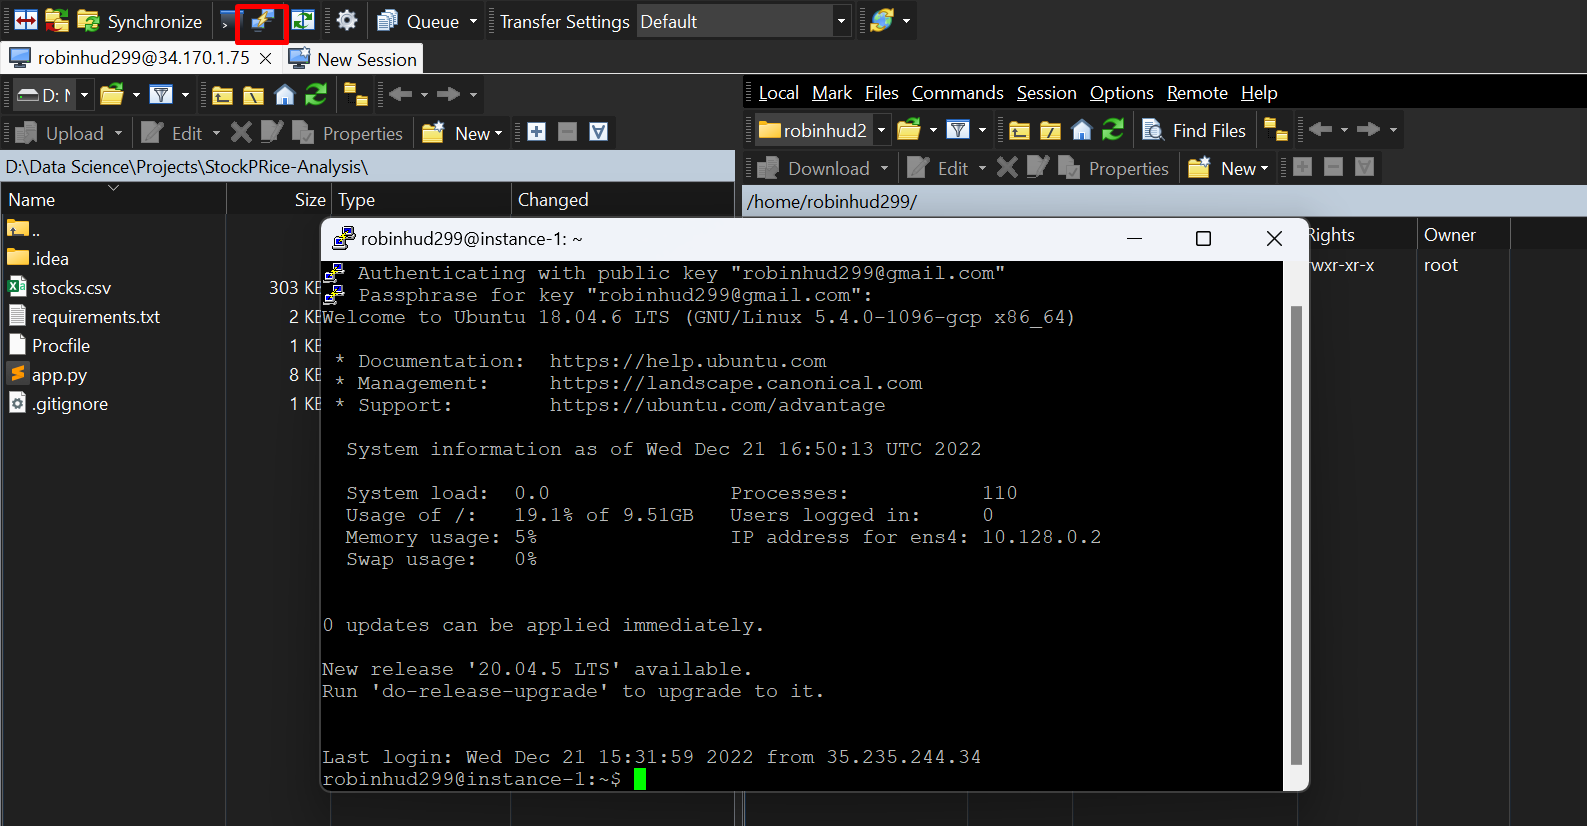
- Try runnung some commands


- Connect to WinSCP
- Connect to Putty (Ctrl+P in WinSCP)
- first update sudo by cmd
sudo apt update - check python installation or version run
python3 - install python using
sudo apt install python3.10 - install pip using
sudo apt install python-pip - unistall python2.7
sudo apt purge -y python2.7-minimal - install pip
sudo apt install python3-pip - install packages from requirements.txt
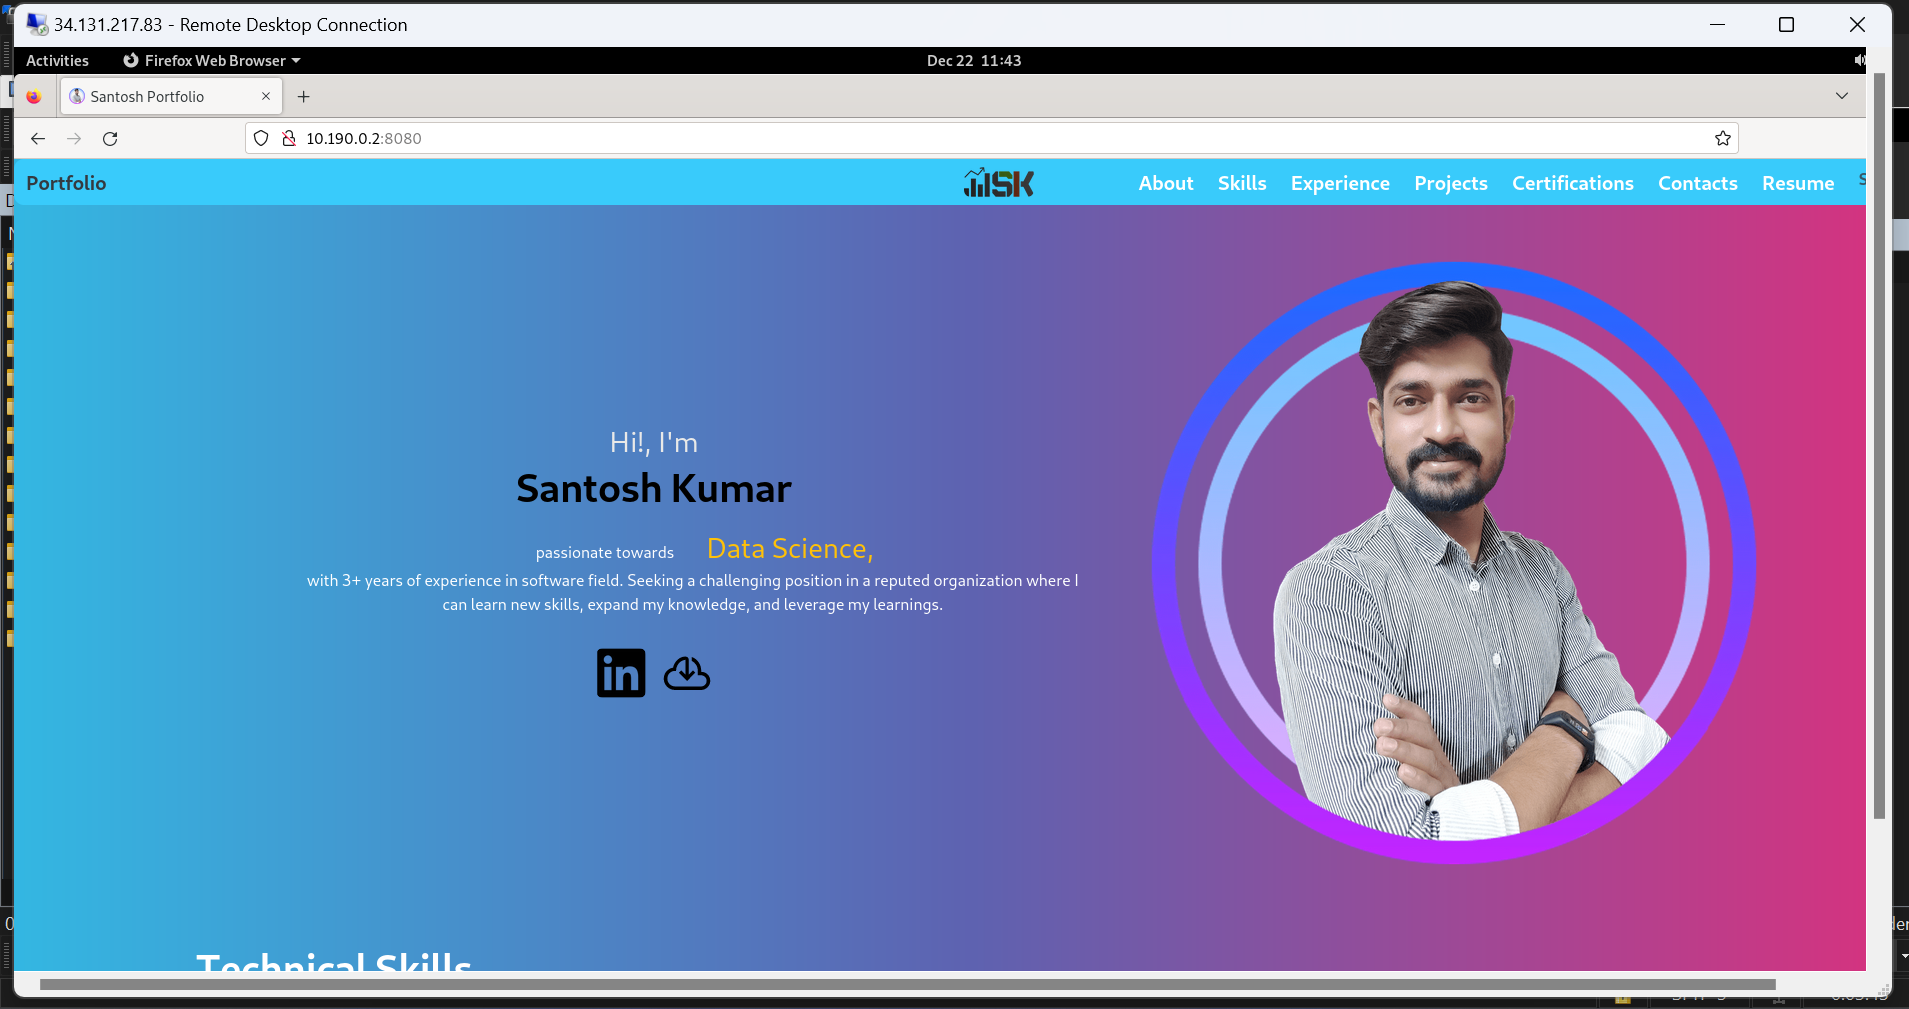
pip3 install -r requirements.txt - Run python script
python3 app.py
-
Open VM terminal using Broser Shell or Putty
-
Follow below commands to setup VM
- install XRDP, run
sudo apt install xrdp - enable xrdp, run
sudo systemctl enable xrdpand thensudo add-apt-repository ppa:gnome3-team/gnome3 - COnfigure XRDP, run
sudo apt-get install gnome-shell ubuntu-gnome-desktop - set password for login to remote, run
sudo passwd robinhud299and then enter and confirm password
- install XRDP, run
-
Now, go to VM page and copy the Public/External IP
-
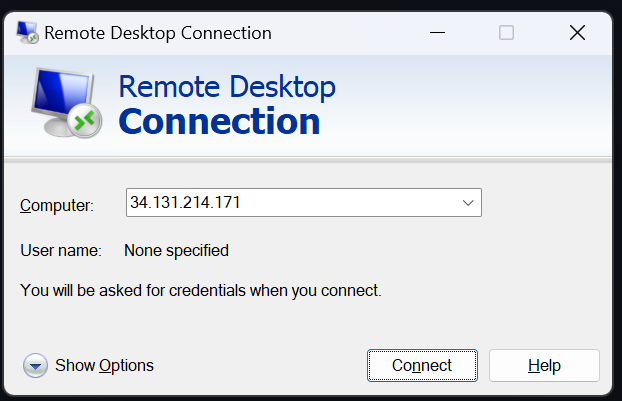
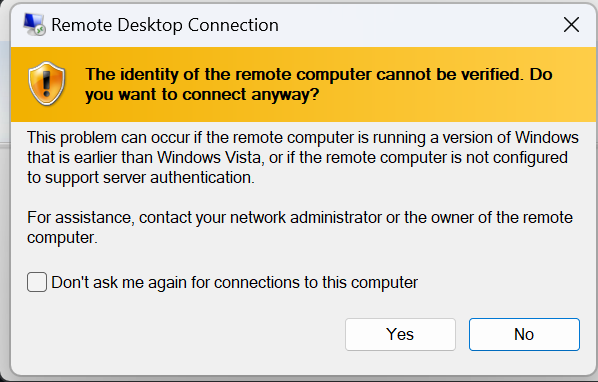
Now, open Remote Desktop Connection in Windows machine and enter the same external ip and connect and confirm yes
-
Now, it will ask for login credentials enter the username as
robinhud299and password as12345as earlier setup above and click ok