
In this lab, we'll be building Dots with JavaScript, HTML, and CSS. Dots is an interactive game with up to 3 levels. In each level, the user has to click a moving ball until they reach a certain score, at which point they can move on to the next level. This game will test your skills with DOM manipulation, event listeners and applying conditional game logic.
- Use DOM manipulation with event handling to create a functional Dots browser game
- The game should be able to track player scores
- The game should display winning messages when a player completes a level
- Gain a deeper understanding of creating conditional game logic and applying it to create a working game
Forkandclonethis repository andcdinto the new directory on your local machine- Open the directory in your text editor with
code . - You will be working inside the
starterdirectory, where initial code has been provided - Take a look at the files inside the
starterdirectory before beginning to see how they are connected with each other - From the starter directory,
open index.htmlto test your game in the browser
- After opening your game in your browser, open your Chrome dev tools, as they will be vital in testing your game's functionality
cmd + option + ifor MacOSctrl + shift + ifor Windows/Linux
For level 1, you'll need to add a single event listener to the .js-ball element. When the user clicks on the ball, it should increment their score by 10 points. When the user reaches 100 points, they've beat the level and can move on!
We'll be working in level-one.html and level-one.js to accomplish these goals. Let's take a look at level-one.html to see what HTML elements we'll be working with first.
- Inside the section with a class of
level-arenawe have a span tag with the classesball js-ball - Inside the header tag, we also have an h2 tag with a classes
score js-score - We also have a section with the class of
level-winner, which is not currently appearing because it has an opacity of 0 in its CSS rules - We'll need to use these elements to create the game functionality for Level 1
Now, in level-one.js we'll need to create a few necessary variables to start.
- At the top of
level-one.jscreate ascorevariable with an initial value of0 - We'll also need to create variables to allow access to our HTML elements and control their behavior
- Create a variable
balland assign its value by grabbing the.js-ballclass with aquerySelector() - Create a variable
scoreDisplayand assign its value to thejs-scoreclass - Create a variable
levelWinnerand assign its value to thelevel-winnerclass
- Create a variable
- To create the game functionality we want with Level 1, we'll need to start by adding an event listener to the
ballvariable (which is the HTML element with classjs-ball) we've just created - This event listener will need an anonymous callback function to perform the logic of our game when the
ballisclicked - At this point, your event listener should look like this:
ball.addEventListener('click', function() {
  // some logic for updating score and checking for a win here
});
For our game to work we'll need to add logic inside the event listener's callback function. What should happen when the ball is clicked?
- Make sure to
console.logwith each step to be sure your logic is working properly!- Firstly, we should increment the
scoreby10 - Next, we'll need to make sure that a player sees that their score has gone up
- Set the
innerTextproperty ofscoreDisplayequal toscoreto accomplish this - Finally, what needs to happen if a player's
scorereaches100? - Write a conditional statement that checks if the player's
scoreisgreater than or equal to 100 - If their
scoreis at or above100we'll need to reflect that by showing the player that they've beaten the level - To show that the player has won, we'll need to target
opacitywithin thestyleproperty oflevelWinnerand set its value to1
- Firstly, we should increment the
- Now when a player interacts with Level 1, their
scoredisplay should update as they click theballand they should have a win message appear when theirscorereaches100!
And with that, we've completed Level 1! Great work!
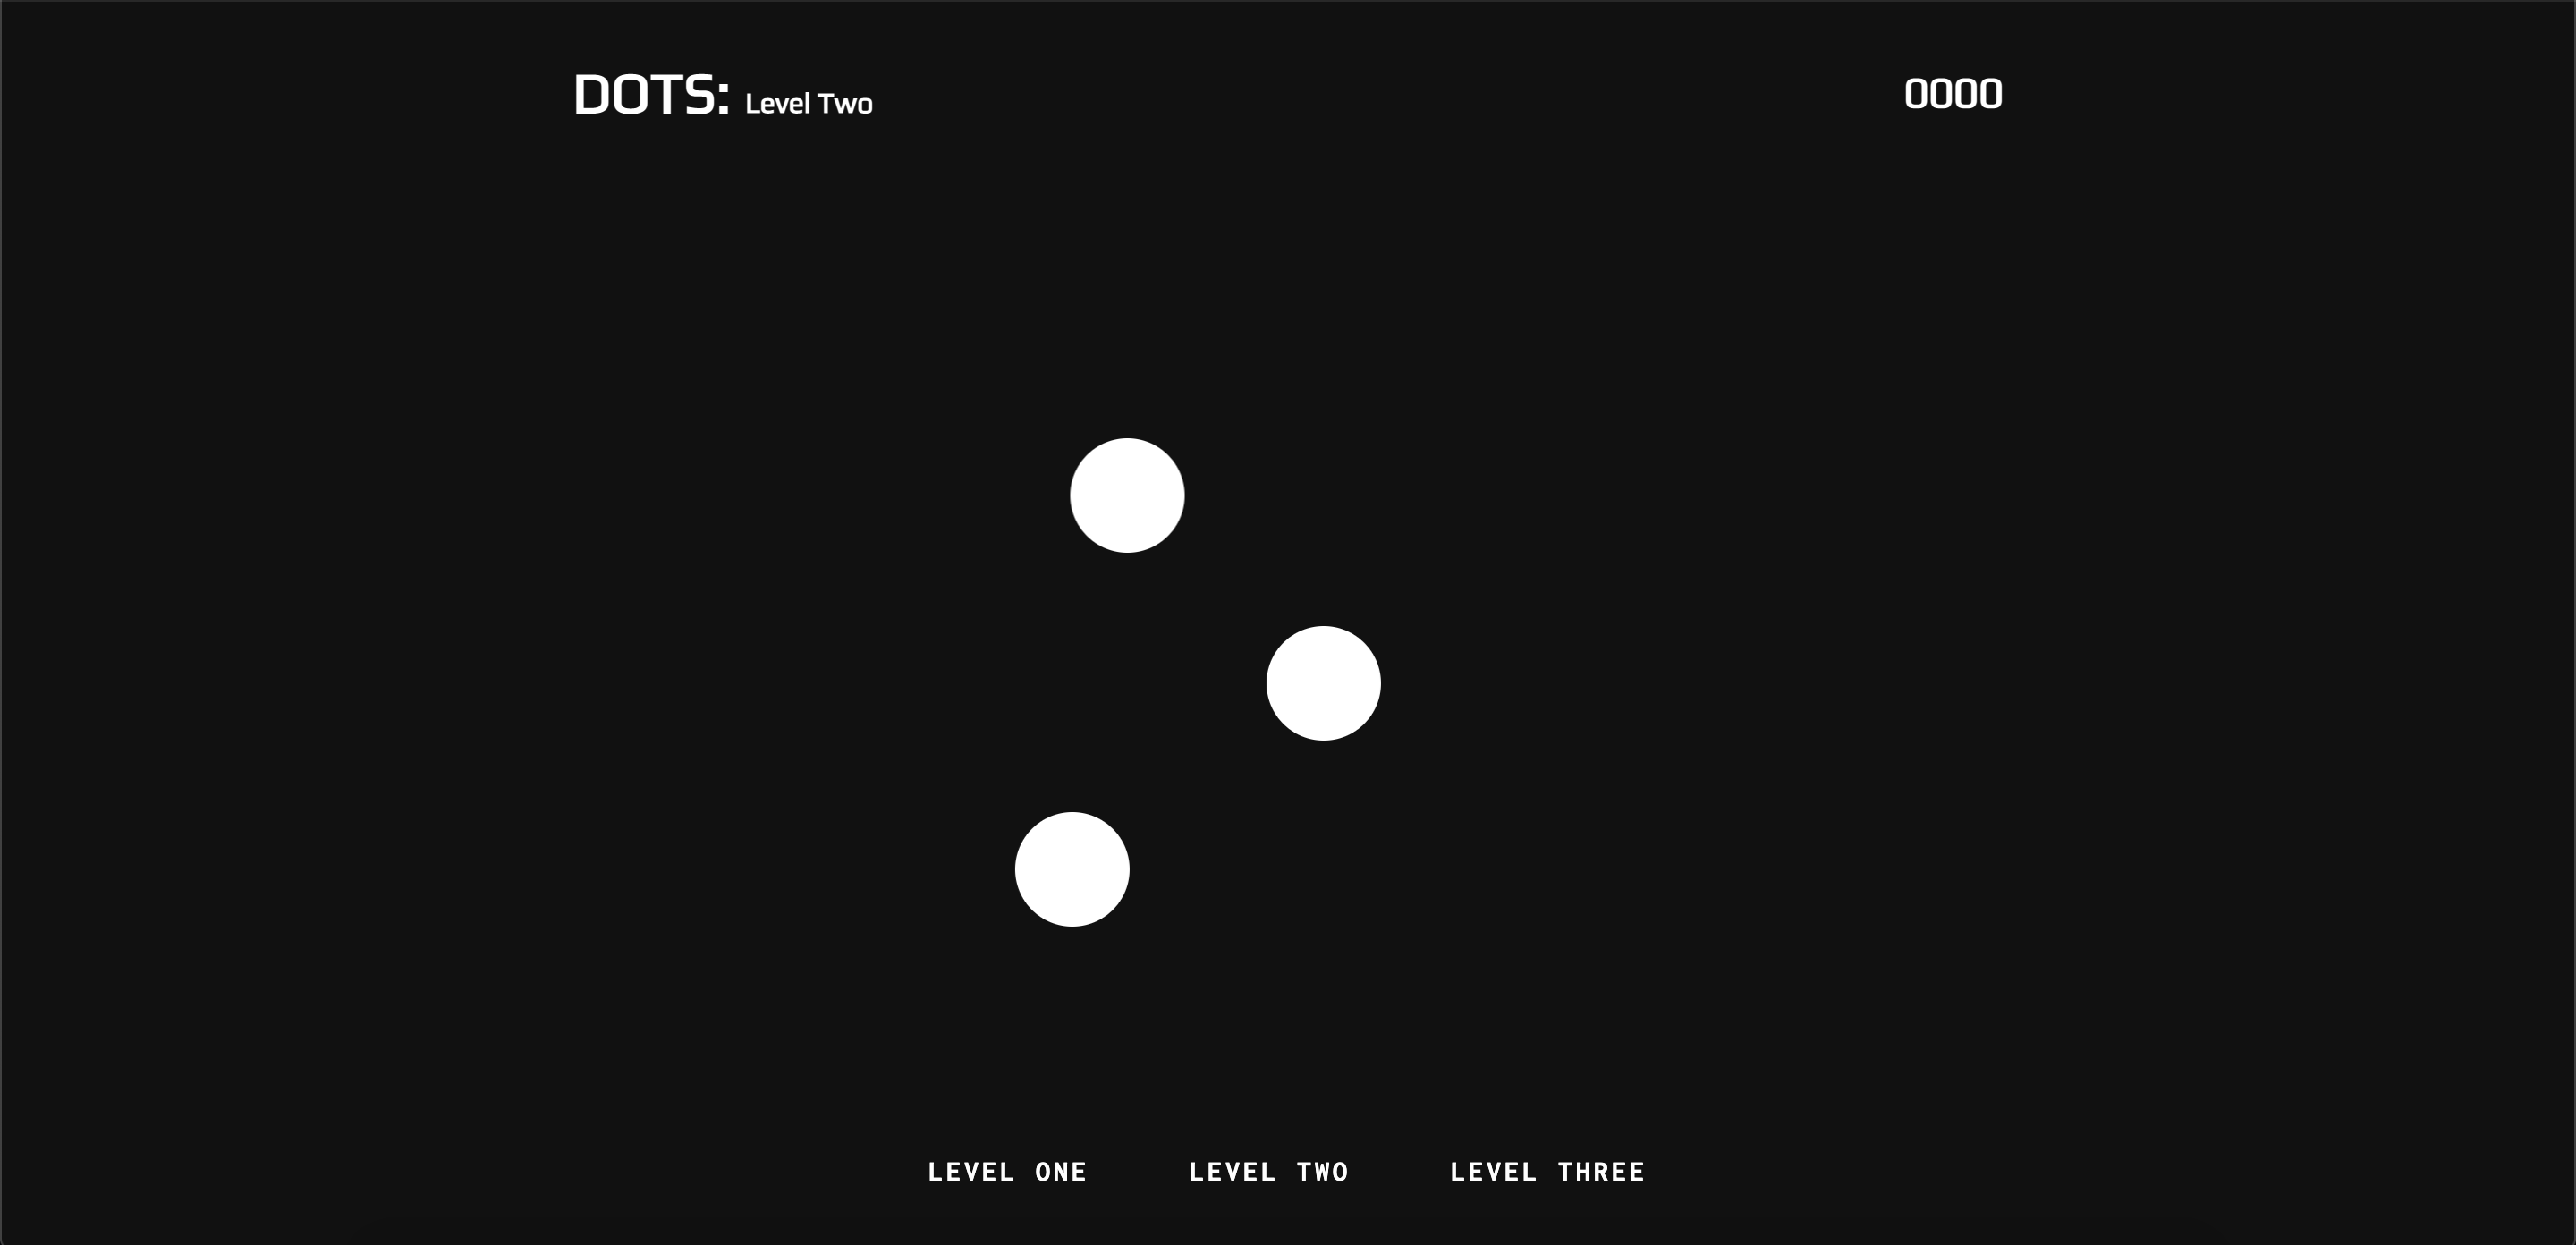
Level 2 has 3 moving balls that the user can click on to increment their score. Implement a single click handler to listen for when a user clicks on one of the balls and increment their until they reach 100.
We'll be working in level-two.html and level-two.js for Level 2. Let's start with level-two.html to see what HTML elements we'll be working with.
- In
level-two.htmlwe now have 3 elements with a class ofjs-ball - How might we set all 3 elements to a variable?
- We also have an h2 tag with a class of
js-scoreand a section tag with a class oflevel-winner
To start we'll need variables for each of these elements along with a variable to track score as the balls are clicked in level-two.js
querySelectorAll()will output an array of elements with the same class.- It might be useful to set a variable equal to this array
console.logthis variable to see it with your Chrome dev tools
How might we add a click event listener to each ball element within an array?
-
A
loopmay be useful here -
HINT
A
for loopcan be used to add an event listener with the same callback function to each HTML element in an array output byquerySelectorAll()const elements = document.querySelectorAll('.js-ball'); for (let i = 0; i < elements.length; i++) { elements[i].addEventListener('click', function() { // some logic for updating score and checking for a win here }); };
-
We'll need several things to happen each time a
ballelement is clicked- The
scoreshould be incremented up by10 - The player should see their updated score reflected in the browser
- Finally, if the player's score reaches
100, they should see a winning message and be able to move on to the next level
- The
Once this logic is completed, we're done with Level 2!
Level 3 also has 3 moving balls but of different sizes! Each ball is therefore worth a different amount of points. The number of points the user should get for each ball is saved in side of a data attribute on the ball HTML elements. You can access the data attribute of an element from the event object by looking at the event target's dataset property. When the user clicks on a ball, increment their score based on how many points that ball is worth until they reach 100.
Like in Level 2, we also have 3 ball elements in Level 3 with a class of js-ball, an h2 tag with a js-score class, and a section tag with a class of level-winner.
- We'll need to create necessary variables to track player
scoreand allow interactions with the HTML elements - This can be accomplished in a similar fashion to variables in Level 2
Since we have balls of different sizes in Level 3 that have different values, how to we use that in our logic?
- First we'll need to add a
clickevent listener for each ball with thejs-ballclass - Next, when a ball is clicked, we'll need to increment the score by each ball's
data-incrementvalue - This can be accomplished in several ways
-
HINT 1
Inside your event listener for each ball,
console.logthedatasetproperty of the ball.console.log(ball.dataset)
Notice that the
datasetproperty also has anincrementproperty.How might this be used to get the point value of the ball?
-
HINT 2
Notice that
data-incrementis an attribute of each ball element.getAttribute()is a useful method that allows us to target HTML element attributes. Try aconsole.logof this method inside of the ball's event listener callback function.console.log(ball.getAttribute('data-increment'))
-
- Now that we've accessed the increment value of each ball, we'll need to set it to a variable so we'll have access to it in our event listener callback function and make sure that the value is actually an integer value, since this is not guranteed
parseInt()is a useful method that can ensure the value is actually a number data type- Once we've set this value to a variable, we'll need to update the
scorewith it, then reflect the updated score in the player's score display - Finally, we'll need logic to allow a player to win the level if their score reaches
100
Once this logic is completed, Level 3 is finished! Congrats!

In this lab, we used DOM manipulation in multiple scripts and HTML files to access HTML elements as variables, then used event listeners with callback functions to allow for conditional game logic in our Dot game. Key concepts covered in this lab include:
- Variables can be used in JavaScript to affect live HTML through the DOM
document.querySelector()anddocument.querySelectorAll()are used to access HTML elements in JavaScript by their classes with the DOM (Document Object Model), with the latter returning an array of selected HTML elements.addEventListener()is used to handle events for a DOM element. It requires at least 2 arguments:- First, the
typeof event being listened for needs to be specified. Commonly used events include:click,DOMContentLoaded, andmouseoverbut a full list can be found here: Link - Secondly, something needs to happen once the event being listened for occurs, a callback function! The callback function is typically an anonymous function
() => {}or a pre-defined function that determine website behaviour after the event occurs.
- First, the
for loopscan be used to alter multiple elements within an array, including DOM elements- The
datasetproperty of an HTML element allows us to access their custom data attributes .getAttribute()allows access to the attributes of a DOM elementparseInt()can be used to ensure that the data type of a variable is a number- Conditional logic (control flow) is a hugely important aspect in determining the behavior of a website